Search for a Recipe

Tuesday, 29 June 2021

Strawberry Shortcake Rounds with Homemade Strawberry Coulis Sauce

There are so many different ways to make and enjoy strawberry shortcake.  We've happily eaten buttermilk biscuit-based shortcakes, used spongecake cupcakes for shortcake-style cupcakes, and topped leftover cake with diced berries and whipped cream for a make-shift shortcake.  These shortcake rounds are a fun and pretty shortcake with a touch of white chocolate that adds a lovely flavor to this recipe.  The strawberry coulis sauce drizzled on top gives it an extra special look.  Plus, the leftover coulis sauce is amazing on sourdough waffles, dessert waffles, or pancakes!  Enjoy!
GF Strawberry Shortcake Rounds
Delicious shortcake rounds, topped with diced strawberries, whipped cream, and homemade strawberry coulis sauce. Yum! 

Strawberry Shortcake Rounds

Makes 12-18 rounds

Butter 12-18 whoopie pie molds (it just depends on the size of your molds)

Melt together in a microwave-safe container in 30-45 second increments, when it's smooth, set it aside to cool while you mix the rest together:
2 oz white chocolate (high quality)
1/2 cup milk
1/4 cup butter
1 tsp vanilla extract or bean paste

Beat until frothy:
1/3 - 1/2 cup sugar
3 eggs

Mix in until smooth:
1/4 cup coconut flour
1/4 cup white rice flour
1/4 tsp salt
1/4 tsp baking soda
Melted chocolate mixture from above

Divide the batter among the whoopie pie molds, filling just over 3/4 full.  I have two pans, and one makes smaller whoopie pies and the other makes larger, so you'll just have to adjust accordingly.

Bake at 350 F for about 10-12 minutes.  These cook quickly, so keep an eye on them.  They may need a little less or little more time depending on how large you made them.

Let cool 5 minutes in pan, then use a rubber spatula to loosen and remove the cakes from the pan to a wire rack to cool.
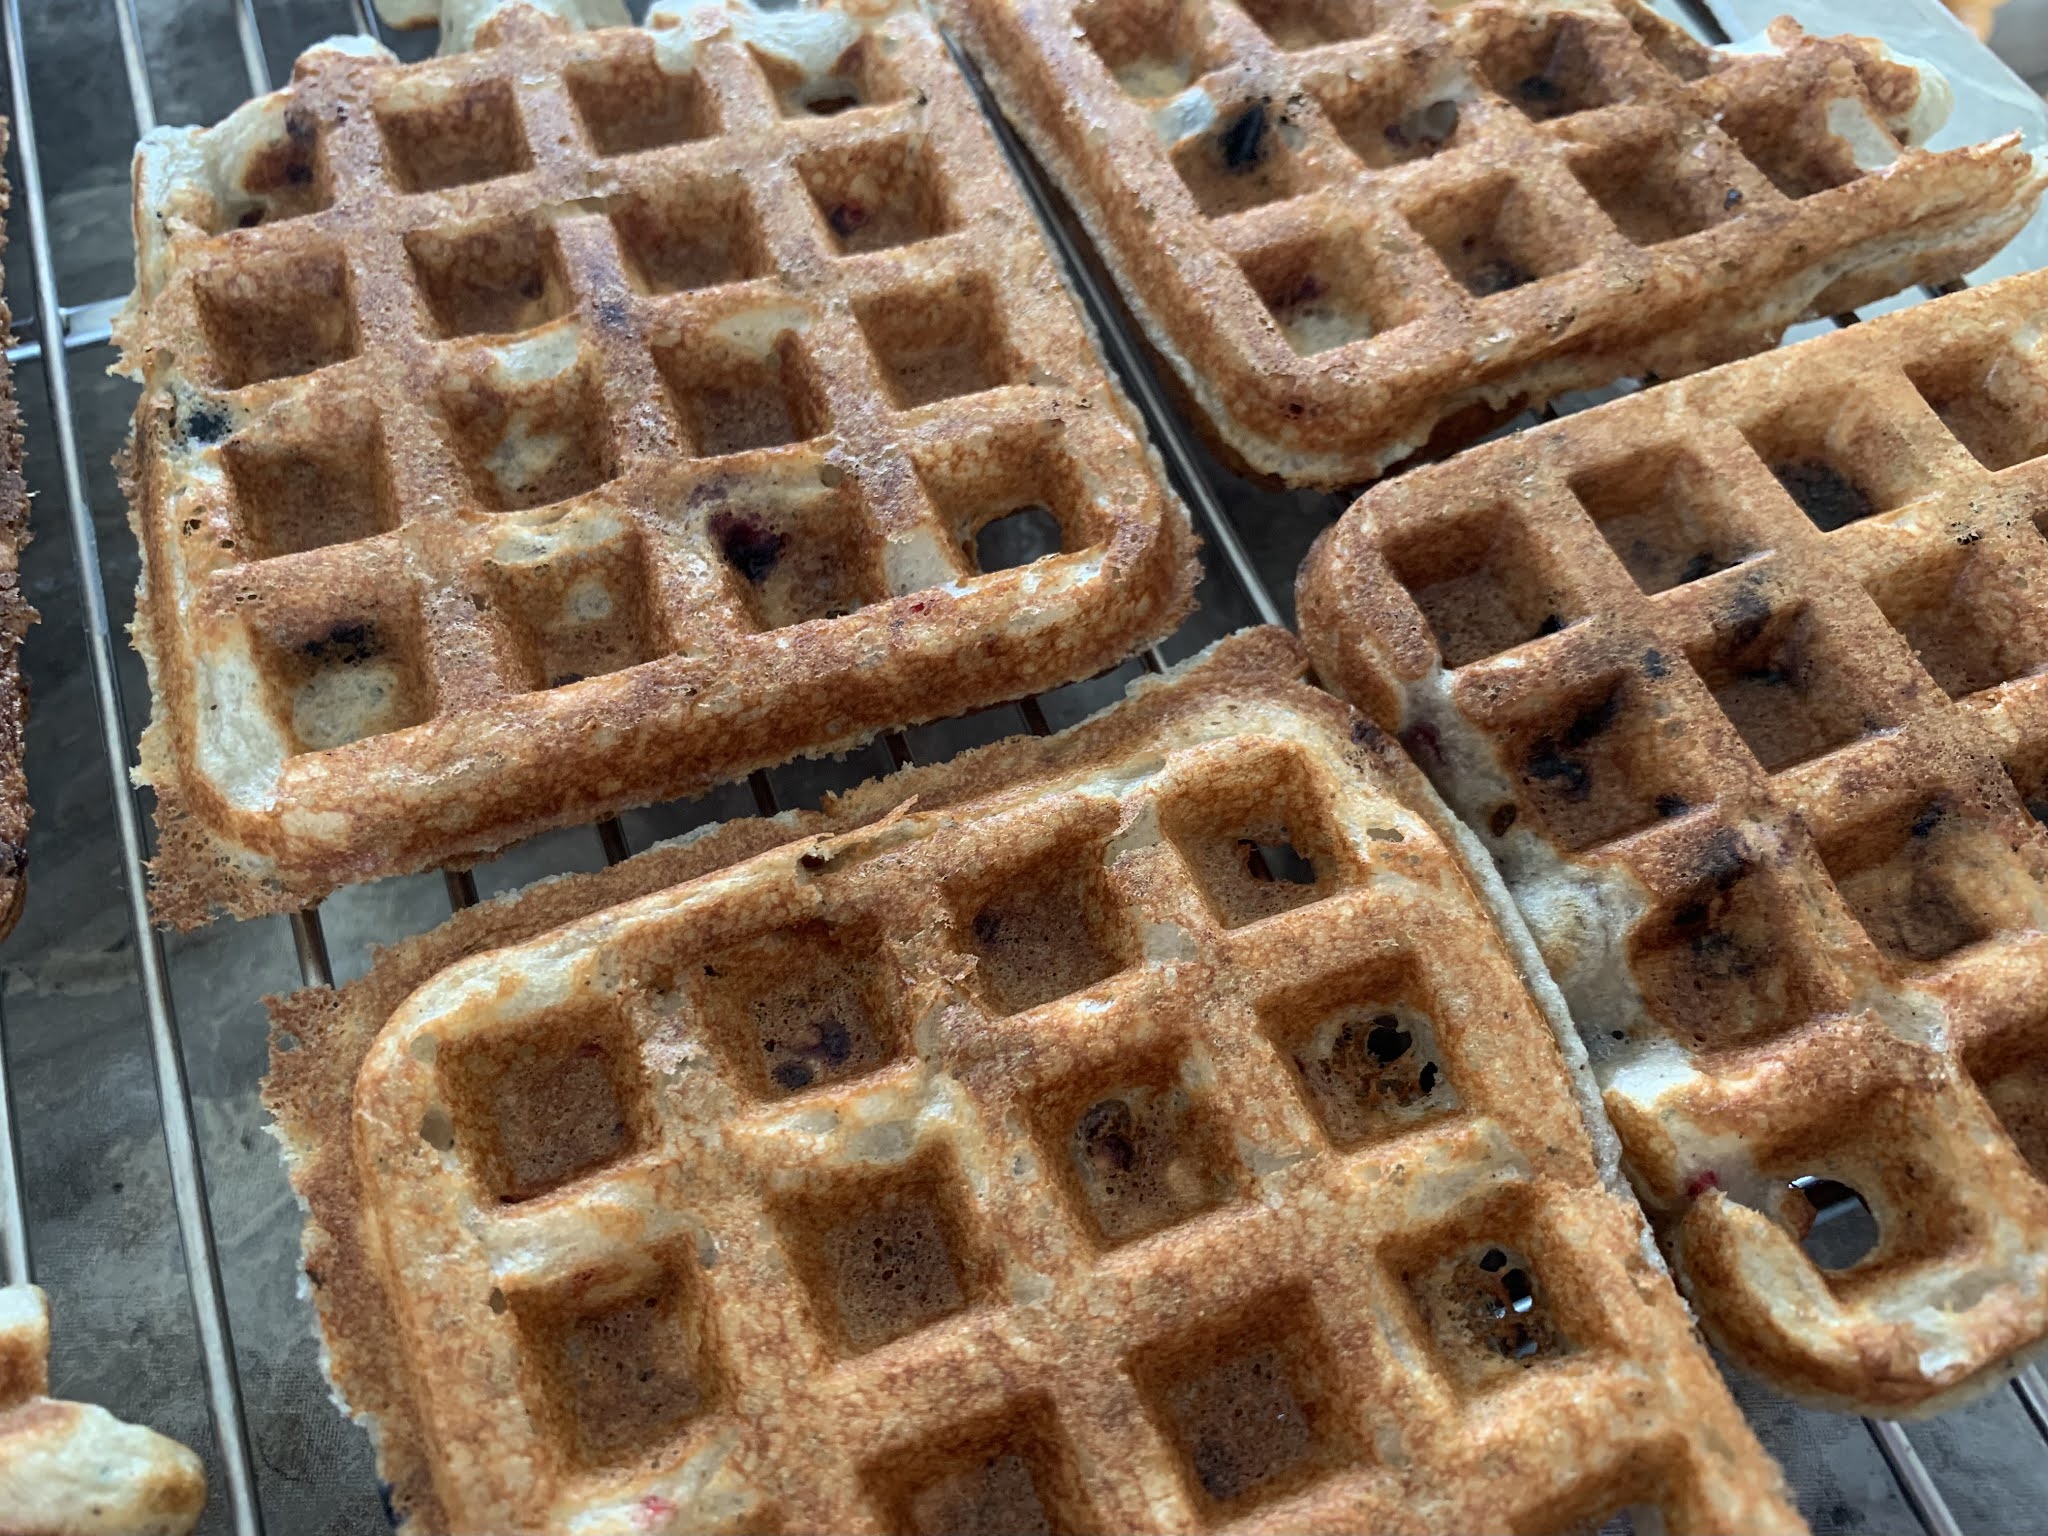
Fresh shortcake rounds, ready for eating!   These are browned a little more than I usually aim for, but I find because of the coconut flour, they're still nice and moist. 

To serve, dice 8 oz strawberries and mix with 1-2 Tbsp powdered sugar.  Set aside to chill.  These can be prepared in advance, if needed.  Top shortcake round with fresh berries, whipped cream and drizzle with the fresh strawberry coulis sauce, below.  Enjoy!
Freshly diced with a touch of powdered sugar mixed in on the left.  Berries ready for cooking into coulis sauce (below) on right. 

Strawberry Coulis Sauce

In a medium-sized pot, bring to a boil over medium heat:
8-12 oz strawberries (about 1 1/2 - 2 cups, before removing ends)
4-6 Tbsp powdered sugar
2-4 Tbsp water (more or less depending on desired thickness)
zest of one lemon
1-2 Tbsp fresh lemon juice

Cook 1-2 minutes, then puree with a stick blender.  Return to the heat and cook and additional 2-3 minutes.  You can puree it again, or just press it through a sieve to strain out the seeds. (I like to rub the spoon back and forth in the sieve to help strain it)  Cool, then refrigerate until ready to serve.  Yum!
GF Strawberry Coulis Sauce
Strawberry Coulis Sauce, just before straining.

Strawberry Shortcake Rounds with Homemade Strawberry Coulis Sauce by Successfully Gluten Free! 

Thursday, 17 June 2021

Heart Shaped Pizzas!

 We made these for Valentine's Day, then loved them so much we made them again just for fun several times since.  You could easily pipe the batter and smooth into any fun shape you'd like!  My girls loved flattening the heart shaped crusts and topping the pizzas.  The sizes were perfect as well for a fun dinner.  Enjoy! 

Fresh from the oven, heart shaped pizza topped with ham & cheese shaped and topped by my daughters.

Heart Shaped Pizzas!

Makes 3 trays of heart-shaped pizzas.  

Preheat oven to 450 F (425 F convection).  Line 3 cookie sheets with parchment paper.

In a mixer, combine the following:
3 cups Kristin's Gluten-Free Flour Mix
2 tsp xanthan gum
3 tsp rapid-rise yeast
1/2 - 1 tsp dried basil (or 1/2 - 1 tsp dried oregano)
1 tsp salt
dash garlic powder

Add, and beat 2-3 minutes, until nice and smooth:
2/3 - 3/4 cup egg white plus milk to have a total of 2 1/4 cup liquid
(approximately 3/4 cup egg white & 1 1/2 cup milk)

Spoon the batter into a large freezer ziploc bag.  Pipe the heart shapes (or other shapes if you want to get creative) onto the pan, in a smaller size that you'll want your final crust.  Use wet hands to spread and smooth the hearts into shape.  Re-dip your hands in water regularly.  
Spreading out the heart shaped dough was so fun for my girls.  Don't forget to keep re-dipping your hands in the water or they will stick to the dough.

Melt in a small microwave bowl: 
3-4 Tbsp butter

Brush the tops of each heart shape with melted butter.  You can let the crusts rest for 10-15 minutes. 
The girls loved brushing the tops with butter.  A brush or just the back of a spoon to spread around the melted butter works well. 
Bake the crusts at 450 F for ~12-15 minutes until nicely browned and bubbly.  (Lightly browned will result in the bread sinking and not retaining it's nice bubbles after removal from the oven, so make sure it's nice and dark golden brown).  
Nicely browned and ready for toppings!
Remove from the oven.  Add toppings as desired (I'll add a few ideas below).  Bake again at 450 F 5-8 minutes, until toppings are cooked as you prefer.  Enjoy! 

A few topping ideas: 
sauce, mozzarella, ham, parmesan
sauce, mozzarella, dollops of ricotta cheese, mushrooms, pepperoni, parmesan, dried crushed red pepper
sauce, mozzarella, sauteed veggies, parmesan, italian herb blend
alfredo sauce, sliced cooked chicken, light mozzarella, basil & spinach to top
Topped with my girls favorite - sauce, mozzarella and ham, with a bit of Parmesan on top.
Topped with my favorite - mushrooms, cherry tomatoes, Parmesan, mozzarella, Italian herb blend, red chili pepper flakes.
These turned out so nicely - sautéed up some mushrooms and peppers to add with a piece of pepperoni and red chili pepper flakes.


Heart Shaped Pizza Crusts by Successfully Gluten Free!

Thursday, 3 June 2021

Gluten-Free Pan-fried Flatbread

 I just really, really, wanted a pan-fried bread to have when we made lamb kebabs.   After several attempts, I discovered this version which hits the spot.  It's nice and quick to throw together, and using a wet, flat glass to flatten your bread means there's no rolling needed!  It's a fun alternative to naan bread or pita bread or dinner rolls.  Enjoy! 
Fresh fried flatbread, brushed with butter.
Served with a pumpkin curry (made by my friend Julie) and salad and kebabs (plated by my kids who have a tendency to scatter the plate with the vegetables).

Gluten-Free Pan-fried Flatbread

Makes ~10-12 flat breads

In a mixer combine: 
1 1/2 cup brown rice flour
3/4 cup tapioca starch
1/4 cup potato starch
1 tsp xanthan gum
1 tsp salt
2 tsp rapid rise/quick yeast

Add and mix in, beating 3-4 minutes until nice and smooth: 
1 cup warm water
3/4 cup milk
2 Tbsp softened butter
1 Tbsp olive oil

Heat up at medium-high heat a pan like a cast iron or something good for high heat that things don't stick to, ideally.  This bread is cooked similarly to how you might cook a tortilla, without any oil or butter on the pan.  

In a separate bowl, melt: 
2-3 Tbsp butter

The amount of dough you scoop and how large your flat breads depends on your pan size, so you may have to play around a bit the first few flat breads.  I like to use a large cookie scoop to scoop dough onto the pan.  Use a glass with a flat bottom to dip it in water and quickly flatten your bread.  You may have to re-dip the glass 2-3 times until you have your bread flattened.  
Flattened several times with the bottom of a wet glass, repeatedly dipped in water.  So easy! 

Cook 2-3 minutes on the first side, flip, cook another 1-2 minutes and flip another once or twice until the bread is nicely baked through and has the lovely dark pan-fried color on it.  
Frying the bread - you want the nice dark spots in this bread.  Make sure to flip it a few times so the middle is nice and cooked.

Remove to a wire rack (for a crispier flat bread) or a plate and brush immediately with melted butter. I've put them on a wire rack and on a plate, and we enjoy it both ways.
Fresh from the pan and brushed with melted butter.

Repeat with the dough until you've cooked all your flatbread.  You can make your flat breads larger or smaller, depending on your preference.  Below, I made them in a smaller size to serve alongside a meal of lamb kebobs, vegetables and salad.  This time, I just layered them on a plate and brushed with butter after frying.   
Frying up a platter of fresh gluten-free flatbreads!
Fresh flat breads, brushed with butter
A tasty meal on a different day of fried GF flatbread with lamb, steamed vegetables and a salad on the side. 


Gluten-Free Pan-Fried Flatbread Recipe by Successfully Gluten Free!

Wednesday, 26 May 2021

Gluten-Free (Freeze-Dried) Berry Waffles!

 I love the idea of freeze-dried fruit.  One day recently, I realized that the tiny flecks of berry in some frozen gluten-free waffles we'd purchased (sometimes I just cave and buy things) could be duplicated at home by crushing up freeze-dried berries!  Voila!  A berry waffle that doesn't make a juicy mess all over the waffle iron!  Hooray!  Enjoy! 
Gluten Free Berry Waffles
Fresh, delicious berry waffles! 
I like to put waffles onto cooling racks.  My family snatches them off the rack to eat, and it also keeps them from getting soggy - so leftovers can be easily frozen once cool.

Gluten-Free Berry Waffles!

Makes ~36 waffles (6 batches on my waffle iron that makes 6 small waffles)

Turn on waffle iron so it can preheat. 

In a large bowl, combine: 
1 cup brown rice flour
1 cup tapioca starch
1/2 cup white rice flour
1/2 cup potato starch
1/4 cup sugar
3 Tbsp baking powder
1 1/2 tsp xanthan gum
1 tsp cinnamon
1 tsp salt

Add and mix just until thoroughly combined - it's okay to have some lumps, but try to get most smoothed out: 
3 1/2 cup milk (dairy or lactose-free work great)
1/2 cup oil
1/2 cup applesauce
4 eggs

Mix and stir in: 
1 cup freeze-dried berries, measured out then crushed (I just crush them with my hands before dropping them in the batter)
Fruity waffle batter, ready for baking.

Butter the waffle iron lightly, then cook waffles until nicely browned and crisp.  Remove and immediately serve on plates OR place waffles onto a wire rack.  Putting the waffles on a cooling rack after cooking helps avoid waffles getting soggy if you aren't going to eat them right away.  Cooled waffles can be frozen in a ziploc bag and reheated in a toaster oven for quick and easy breakfasts.  Serve fresh, hot berry waffles with whatever toppings you enjoy most!  Enjoy! 
Gluten-Free Berry Waffles!!!!!


Gluten-Free Berry Waffles made with Freeze-Dried Berries Recipe by Successfully Gluten Free!

Monday, 17 May 2021

Monkey Bread with Drizzle

This gluten-free monkey bread with a drizzle on top is a fun treat.  Using egg whites only and a different blend of flours helps the dough be lighter and fluffier than my original monkey bread recipe, although we still like that recipe, too.  The bread can be pulled apart to eat when it's freshly made.  Once cooled, I love to slice it in thicker slices to freeze and toast for yummy breakfasts or snacks.  Enjoy! 
Gluten Free Monkey Bread
Monkey bread with drizzle added while the bread was warm so it melts into the top of the bread.  You can also let it cool and then add the drizzle.
A slice of monkey bread, toasted and ready to eat.  I love it sliced and toasted best.

Monkey Bread with Drizzle

Makes 2 loaves

Preheat oven to 350 F.  Line two regular-sized loaf pans with parchment paper.  

In a mixer, combine: (It's important to mix dry ingredients first in gluten-free baking)
2 cups tapioca flour
1 1/2 cups brown rice flour
1/4 c + 2 Tbsp potato starch
1/4 cup quick cook steel-cut oats (Make sure these are gluten-free if Celiac or sensitive)
1 Tbsp sugar
1 Tbsp xanthan gum
1 Tbsp rapid rise/quick yeast
1 1/2 tsp salt
1 1/2 baking powder

Add the following and beat 5 - 7 minutes, scraping occasionally: 
1 1/2 cups warm water (not hot)
7.5 oz (just under 1 cup) egg whites
1/4 cup milk
1/4 cup oil (avocado, canola, light olive oil all work well)
1 Tbsp honey
2 tsp apple cider vinegar

While dough is mixing, prepare the following: 
Melt in a bowl: 
1/3 cup butter

Mix in a separate bowl: 
1/2 cup brown sugar 
1 - 2 Tbsp cinnamon (depends on how strong you like your cinnamon flavor)

Dip heaping teaspoonfuls of dough half into melted butter, then into the cinnamon-sugar mixture.  Using a second spoon, scoop the dough into the prepared large bread pans.  Repeat until the two pans are evenly filled.  I find I make two layers of dipped dough spoonfuls for each bread pan.  
You can use smaller sizes spoonfuls, if you prefer, but I find heaping Tbsp size scoops work well. 
Let bread rise, covered loosely - I find I need more space than just covering with plastic wrap for the rising.  I like to put a small baking pan upside down over the top of pans (you can have this resting on glasses or jars next to the pans if the pans don't have lips to rest the pan on top of).  If the bread is rising in a warm location, I find it rises in about 30 - 40 minutes.  If it is a cool day, it may take up to an hour to rise. It should be doubled in size.
Ready to cover with a upside down cookie sheet to rise.
It's always difficult to see the amount bread has risen in a photo, but if you look at the glass side of the dish on the left of the first photo compared to how the parchment paper is covered by the risen dough in the bottom photo, you can see now nicely it has risen.  

Bake bread at 350 F for 50-60 minutes.  You can cover the top of the bread loosely with aluminum foil for the last 10-15 minutes of baking if you don't want it to brown too much.   Let bread cool in pans for 5 minutes before carefully removing bread from pans (and removing parchment paper) and placing bread onto a cooling rack to cool.  
Fresh from the oven - let it rest 5 minutes before removing from pan and removing parchment paper.  

Once you place it on the cooling rack, mix together the following glaze: 
1 oz cream cheese, softened (optional)
2 Tbsp butter, softened
3/4 cup powdered sugar
1/2 tsp vanilla extract or vanilla bean paste
milk, 1 tsp at a time until smooth consistency

You can glaze your bread while hot if you'd like the glaze to melt into the bread a bit, or you can wait until the bread has cooled a bit, and then glaze.  Once the bread has cooled a bit, it's ready to eat!  You can pull pieces apart to eat, which is fun.  When the bread has fully cooled, you can slice it into thick slices and freeze.   I find this toasts up beautifully in the toaster oven.  Yum! Enjoy! 


Monkey Bread with Drizzle by Successfully Gluten Free!

Monday, 10 May 2021

Taco Pizzas!

 So, there's this delicious pizza place in Charlottetown, Prince Edward Island called Famous Peppers.  They have such delicious and creative toppings.  We decided to recreate their fun taco pizza at home.  My kids were SO excited and loved helping prep toppings since this is one of their favorite pizzas.  Since then, we've made it over and over and over because we love it so much.  It's a similar idea to a loaded Navajo taco, but there's something fun about it being a pizza on crust.  Enjoy! 

Personal sized taco pizzas - made four to a tray for these particular ones.  SO yummy! 

Taco Pizzas!

Makes 6 medium sized pizzas or 12 individual-sized pizzas. 

Make a batch of naan bread for the crusts, or use the desired crust of your choice.   You can make them larger (2 crusts to a pan) or smaller (4 crusts to a pan) - you'll use 3 pans lined with parchment paper for the crusts.   The naan crusts can be made in advance and frozen until you want to thaw and make your pizzas. Let them cool on a wire rack before freezing in large ziploc bags.  You can place on your parchment-lined pan to thaw.  

Cook up your taco meat - I like to use the recipe I'd use for regular tacos.  I'll include the recipe here for ease:
Taco Meat: 
Heat in large, low sided saucepan over medium heat:
1 Tbsp olive oil
 
Add and cook until softened:
½ onion
5-6 mushrooms, diced (optional)
 
Add and cook until browned:
1 lb. ground beef
 
Then add:
1 Tbsp chili powder
½-1 tsp ground cumin
½ tsp salt
½-1 tsp garlic powder
¼ tsp ground cayenne (add an extra ¼ tsp for a spicier meat)
1 cup water
 
Bring to a boil over medium heat, then lower heat to low and simmer uncovered about 15 minutes.  Once it's simmered, it's ready to eat!

Preheat oven to 425 F (or lower temperature to 425 F if you just made your naan bread.  You can also cook these at 450 F or 475 F for a slightly crisper pizza).
  
Place your pizza crusts on a parchment-paper lined pan. 
Top the crust with a very thin layer of:
spaghetti sauce of your choice 
Spread cooked taco meat, from above (drained) on top of your sauce. 
On top of your taco meat, sprinkle with: 
grated mozzarella
grated cheddar OR mexican cheese blend
thinly sliced bell peppers
Bake pizzas until nicely done at 425 F for about 6-9 minutes.  
Remove pizzas to cooling racks.  

Immediately top the pizzas with the following:
Iceberg lettuce, thinly sliced
Diced tomatoes (I like cherry or grape tomatoes since they're less juicy on a pizza)
Doritos, crushed (or tortilla chips)
sour cream (put it in a ziploc and snip the end to pipe on easily)
fresh green onions, sliced
Pizzas topped with lettuce, diced tomatoes and Doritos

Pizzas with the final topping - a swirl of sour cream and some fresh, sliced green onions 


Taco Pizza Recipe by Successfully Gluten Free!

Tuesday, 27 April 2021

Gluten-Free Vanilla Wafer Cookies!

 I've actually been meaning to figure out a recipe that tastes right to me for gluten-free vanilla wafer cookies, and after a push by my friend Liz, I actually did the experimentation to figure it out!  (Thanks Liz!)  These are nice and vanilla-filled.   If you let these rest a day after baking and cooling, then they really taste so similar to the store-bought ones from my childhood.  And they're easy, too!  Enjoy! 
Gluten-Free Vanilla Wafer Cookies Cooling

Gluten-Free Vanilla Wafer Cookies!

Makes ~24 (1 Tbsp sized cookies)

Preheat oven to 325 F.  Line one or two baking sheets with parchment paper. 

In a bowl, mix together: (It's important to mix the dry ingredients separately in GF baking)
1/4 cup white rice flour
1/4 cup cornstarch or fine-ground corn flour (or arrowroot starch)
1/4 cup potato starch
1/4 cup tapioca starch
1/4 tsp xanthan gum
1/4 tsp baking powder
1/4 tsp baking soda
1/4 tsp salt

In a mixer, beat until fluffy: 
6 Tbsp butter
1/4 cup white sugar
1/4 cup brown sugar

Add and mix until nice and smooth: 
flour mixture, from above
1 egg white
1 Tbsp vanilla extract (OR 2 tsp vanilla extract + 1 tsp vanilla bean paste)
1 1/2 Tbsp milk (add an extra 1/2 - 1 Tbsp if you think your batter is too thick, but I find this amount works well)

Scoop small spoonfuls or use a small, 1 Tbsp sized cookie scoop to scoop batter onto parchment-lined pan.  I prefer to dip a couple fingers in water and gently flatten the top of each scoop.  This helps with even baking. 

Ready to bake!
Fresh from the oven!

Bake your cookies at 325 F for ~15-18 minutes, until nicely golden.  Too pale and they won't be nice and crispy.   Let them rest on the pan for 5-10 minutes before removing to a cooling rack.  Let them fully cool.  Store fully cooled cookies in a tupperware container on the counter.  These are good the day you make them, but we prefer to let them sit a day before eating for a real "vanilla wafer cookie" taste.  Enjoy!  

A couple more pictures:
I found if I was careful, I could fit the entire batch on one pan since they don't spread too much.  Here, you can see half flattened and half left un-flattened.
I prefer the more even baking of the flattened cookies, but the un-flattened work perfectly well, too. 

Gluten Free Vanilla Wafer Cookies by Successfully Gluten Free!