Search for a Recipe

Friday, 13 September 2019

Chocolate Whoopie Pies!

When I was growing up, a favorite special treat was when my dad would bring home whoopie pies from Bova's Bakery in the North End of Boston.  They were huge, with a soft fluffy cake-like top and bottom, filled with fresh whipped cream.  You needed to keep them cold or the inside would melt.  They were delicious.  I've tried myriads of recipes over the years, in my hopes of duplicating the taste that I remember from my childhood.  AND, we have a winner!!!  I made a non-GF version of these years ago, and the key to getting the right consistency in the cake was using mayonnaise.  While it might seem somewhat unusual, it gives the exact flavor and consistency to make what I feel is the perfect whoopie pie.  If you don't want to use fresh whipped cream, these are also delicious with marshmallow fluff frosting as a filling (recipe included below).  Enjoy!!!!!!!!!!
Yummy fresh homemade whoopie pies!!!

Chocolate Whoopie Pies! (Gluten Free)

Makes about 30 whoopie pie sandwiches (~60 individual fluffy cakes)

Mix together until smooth, then set aside to cool a few minutes while you mix together the rest of the ingredients:
1 cup boiling water
2/3 cup Dutch-processed cocoa powder (make sure it's a nice, dark, rich cocoa powder - a dark, amber cocoa powder will work nicely, too)

In a large bowl, whisk together:
1/2 cup white rice flour
1/2 cup brown rice flour
1/2 cup tapioca starch
3/4 tsp xanthan gum
1 1/4 cup white sugar
1 1/2 tsp baking powder
1/4 tsp salt

Add to the dry ingredients:
2 eggs
1 tsp vanilla bean paste or vanilla extract
3/4 cup mayonnaise
water/cocoa mixture from above (add a little first, to help temper the eggs, then add the rest)
Batter, ready to scoop onto cookie sheets. 

Place just smaller than 1 Tbsp scoops onto parchment paper-lined baking sheets.  You should be able to cook 15 cookies to a tray (3 x 5) on 4 trays.   Bake at 350 F for ~10 minutes. 
Whoopie pies fresh from the oven.  Rest a few minutes, then move to cooling rack.

Let whoopie pie cookies rest a few minutes on the tray before transferring to a cooling rack.  Once cool, sandwich with the whipped cream, below, or my favorite marshmallow frosting.  Yum!

Whipped Cream Filling
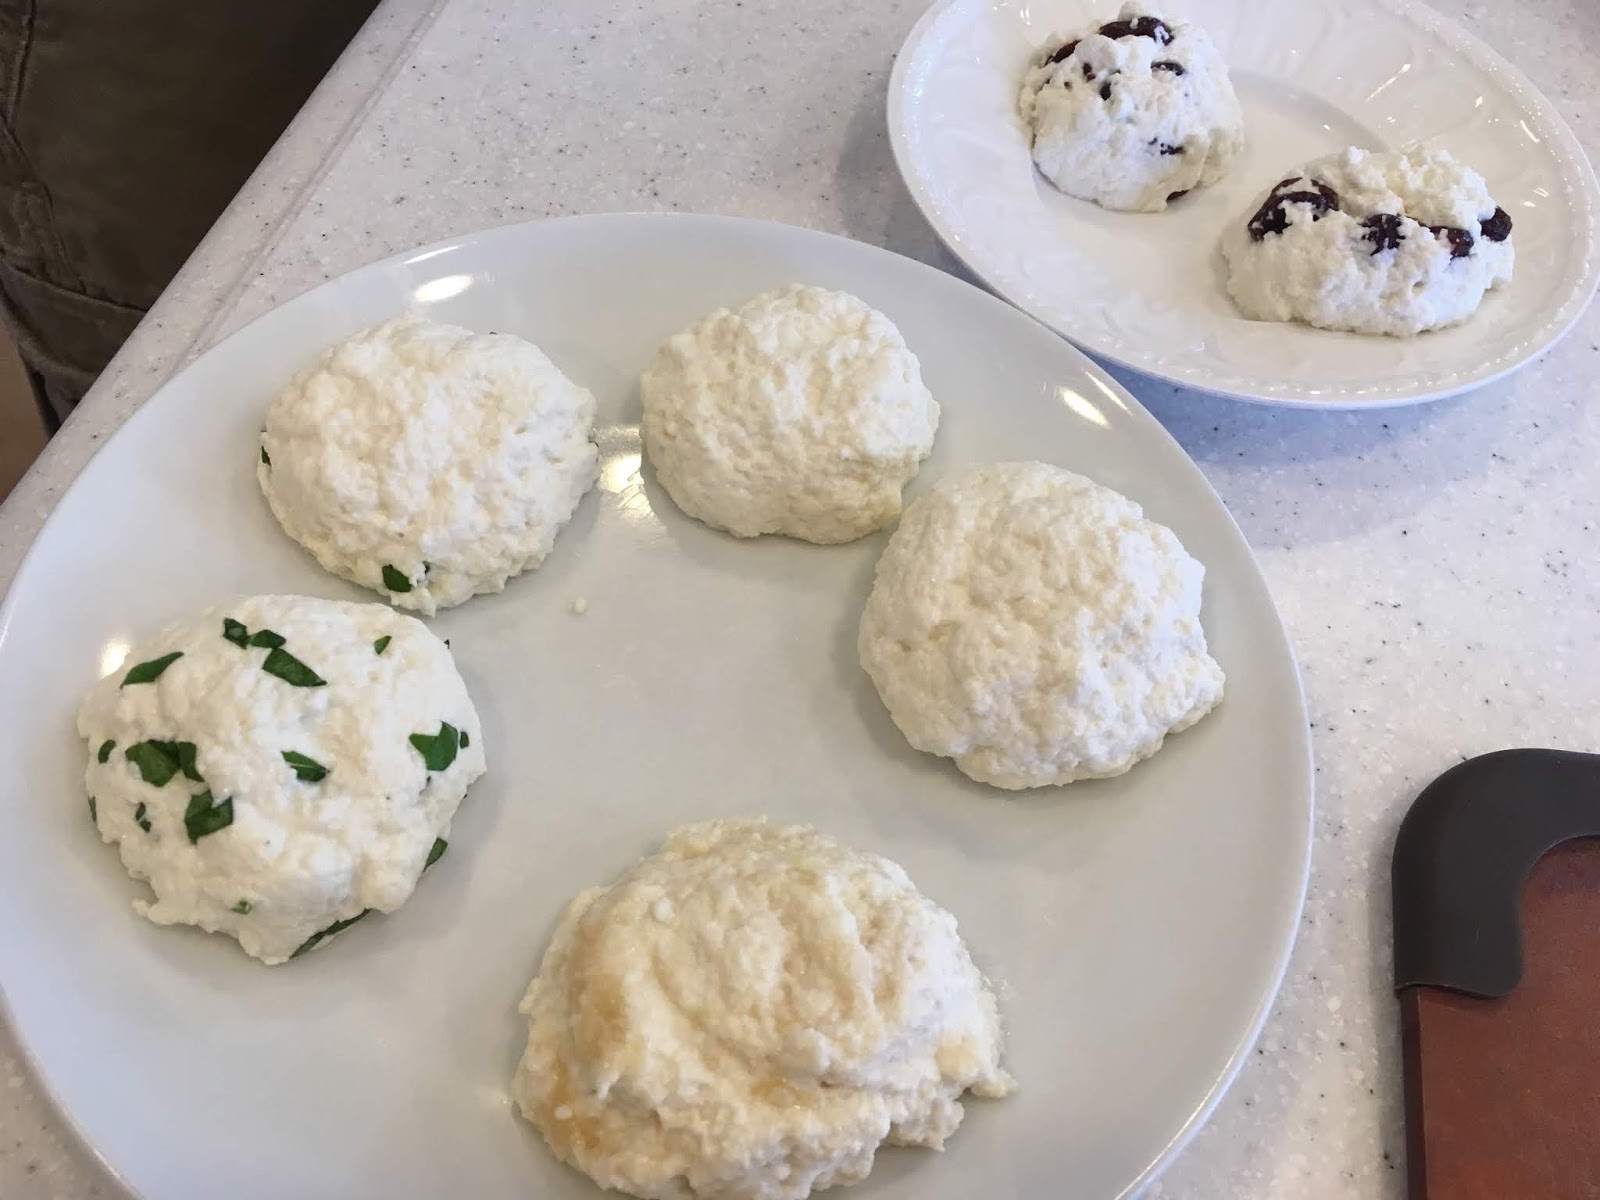
In a mixer with whisk attachment, whisk until nice and stiff peaks form:
2 cups whipping cream (also known as heavy cream, heavy whipping cream)
~1/3 cup powdered sugar (you can use less/more as desired for sweetness - I like to use only a little powdered sugar in the whipped cream, preferring a not very sweet filling to balance with the sweeter chocolate exterior)
1/2 tsp vanilla extract

Use the whipped cream filling to fill whoopie pies.  You can just add a scoop of whipped cream and sandwich together.  You will want to store these immediately in the refrigerator.  Keep refrigerated until ready to serve.   Enjoy!
Ready to pop into the refrigerator. Mmmm... 
*These are my FAVORITE way to enjoy whoopie pies, but they're also delicious with marshmallow fluff frosting and don't have to be refrigerated prior to serving.*

Optional Marshmallow Frosting Filling
In a mixer with a beat 2-3 minutes, until light and fluffy.
1 cup butter, softened
2 - 2 1/2 cups powdered sugar
1 - 2 tsp vanilla bean paste OR vanilla extract
1 - 2 cups marshmallow fluff

Place in piping bags or freezer ziplocs.  Snip the corner and use to pipe and fill the whoopie pies.   My girls loved helping out with these when we need to make a special dessert.
Eight years old and five years old, filling whoopie pies. 
My 5 year old LOVES to help cook, and these are a perfect treat to make together.
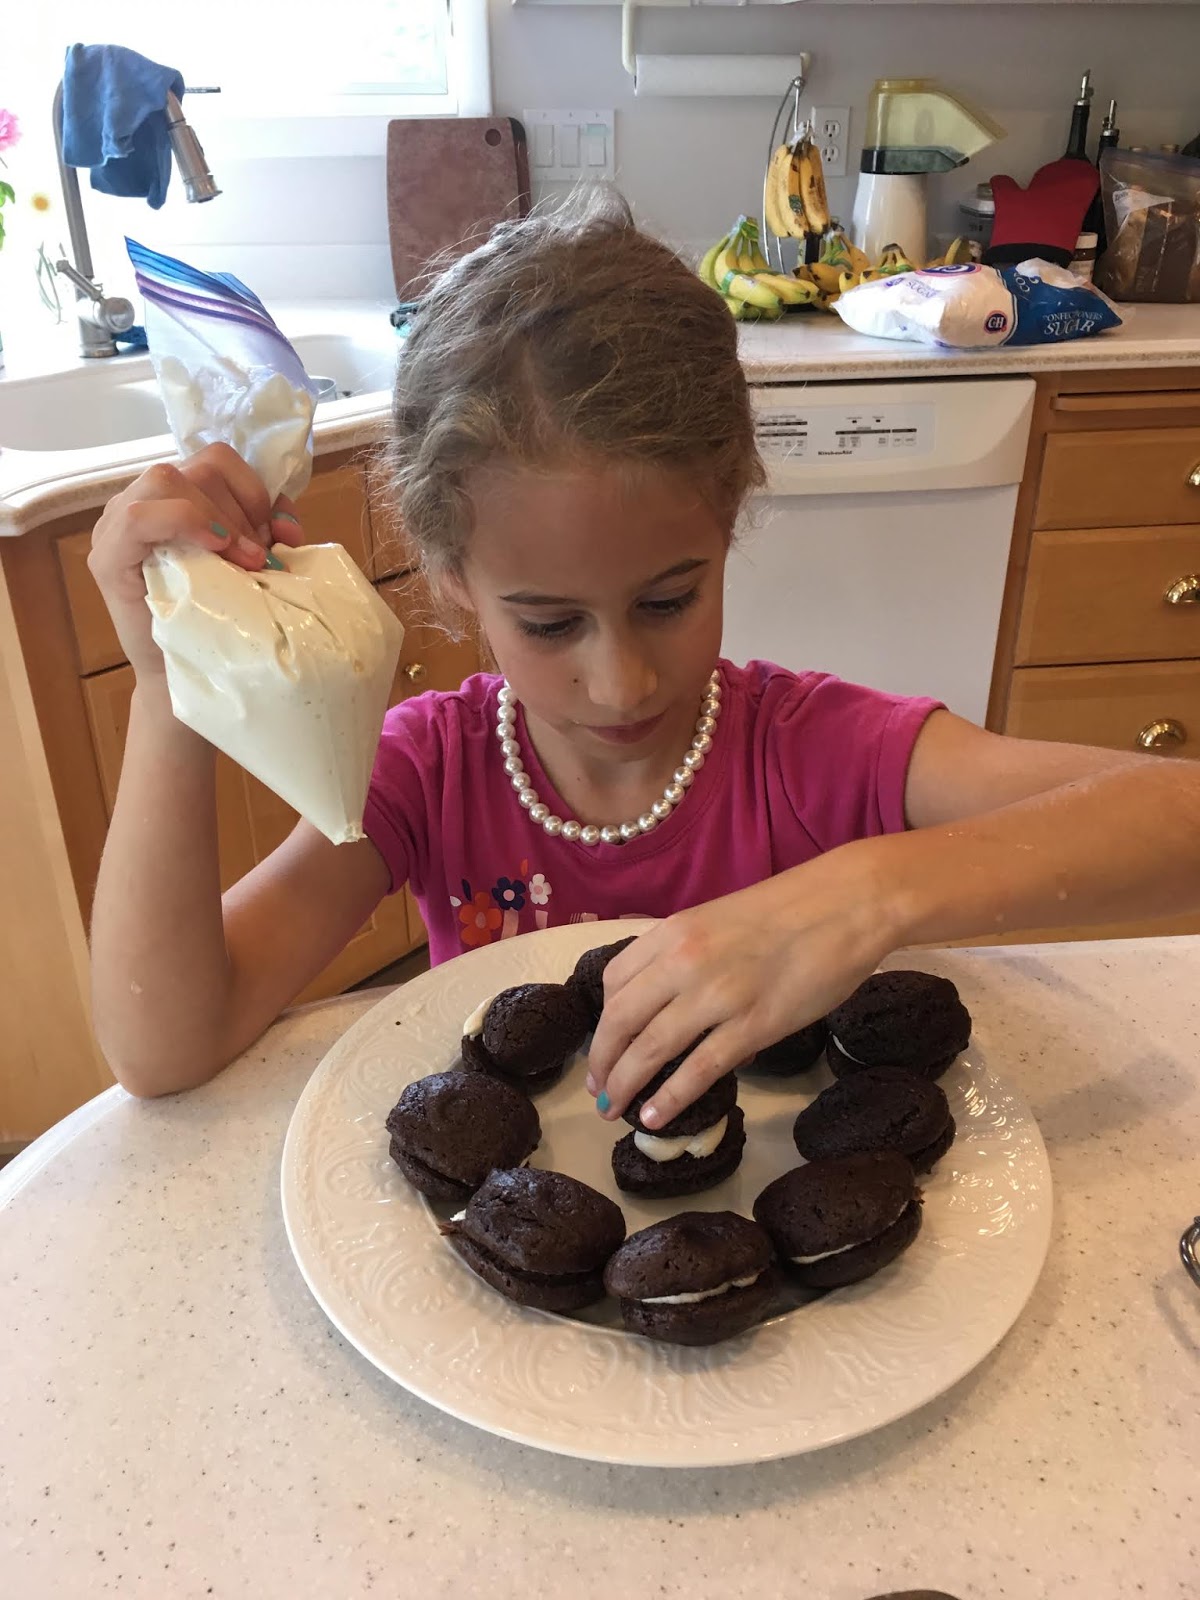
It's important to wear pearls when making whoopie pies. ;) 
Enjoy!!!


Gluten Free Chocolate Whoopie Pies Recipe by Successfully Gluten Free!

Tuesday, 3 September 2019

Easy Homemade Goat Cheese

The best, easiest recipe to make homemade goat's cheese!  Wahoo!  I am by no means a cheese-maker, but I've been dabbling lately and having some fun (this recipe) and some frustration (mozzarella, I am determined to find a way to make it reliably/consistently soon).  What do you need if you want to make sure this works out for you?  A thermometer, a pot that doesn't have any sort of non-stick coating on it, and plain pasteurized goat's milk.  If you like, you can add a little whipping/heavy/whole cream (totally a-okay to leave out), and it's fine if that is ultra-pasteurized.  The coolest thing about this recipe is you'll literally be finished in under an hour (A huge thank you to Claudia Lucero who wrote a great book called, "One Hour Cheese").   This goat's cheese is creamy and fresh.  Your flavor will vary depending on your goat's milk.  I find some varieties have a sharper taste than others. We love eating this goat's cheese with crackers, but I've used it on sandwiches, too.  Enjoy!
Fresh homemade goat cheese.  Mix-ins included basil (left), honey (bottom front), dried cranberries (top back), and a couple plain goat cheeses.  

Easy Homemade Goat Cheese

Based on a recipe from "One Hour Cheese" by Claudia Lucero  p.s. Her book is awesome!

*Keep your goat milk container to store the leftover "whey" that is produced after the cheese curds separate out.  You can use the whey to cook in any recipe that calls for milk, or in place of water in a bread recipe.*

In a medium saucepan (use a metal pan, not a non-stick) mix together:
1 quart goat milk (not ultra-pasteurized, regular pasteurized is fine)
1/2 cup whipping/whole/heavy cream (optional, you can leave out, but it adds an extra bit of creaminess, if desired.  Obviously makes it not 100% goat's milk cheese, too, if you add this.)
fresh basil leaves (optional - other fresh herbs will work, too, or you can just leave them out)

Heat over medium-low heat, stirring regularly to make sure the milk doesn't stick to your pan.   Heat to 185 F.  Immediately remove herbs and add:
1/8 cup apple cider vinegar

Stir in the apple cider vinegar with only a handful of strokes through the saucepan.
Lower the heat to the lowest possible setting.  Stir gently through the mixture every few seconds for about 2 minutes, no longer than 3 minutes.

Remove pot from heat.  Let sit untouched for 10 minutes.
Letting the curds rest for 10 minutes off the heat.
Draining curds in tight mesh cheesecloth over a bowl for 10 minutes.  I saved the liquid for using later in bread - worked great.
Line a colander with tight mesh cheesecloth (grade #90) over a large bowl or liquid measuring cup.  Pour curds into colander and let sit and drain untouched for 10 minutes. (You may have to pour some of the liquid (also known as whey) back into your milk container if the colander base is sitting in the liquid).

Scoop goat cheese curds into a bowl.  Add and mix in thoroughly, but gently with either your hands or a spoon:
1/4 - 1/2 tsp salt (I recommend using either fresh ground or a high quality salt)

Now, you can shape your goat cheese into mounds.  Scoop a little into your hand.  You can add fresh minced herbs (basil (my favorite!), chives, thyme, parsley, etc), or a dollop of fresh honey or dried fruit (currants, cranberries) into your scoops.  Place on plates to cool.
Basil-filled and honey-swirled fresh goat's cheese. Yum!

You can eat these right away!  Leftovers can be covered and stored in the refrigerator.  I like to try to eat fresh cheese within a few days of making.  Enjoy!


Gluten Free Easy Homemade Goat Cheese Recipe by Successfully Gluten Free!

Saturday, 24 August 2019

Sweet Risotto with Peaches

Yum, yum, yum.  This quick and easy dessert-style risotto is a fun treat in summer.  Delicious with peaches, we've tried it with fresh mangos, too, and it's also been a hit.  You can use fresh or canned peaches.  Enjoy!
Sweet Risotto with Peaches, ready to eat! 
Peach slices on top of freshly made sweet risotto

Sweet Risotto with Sliced Peaches (Gluten Free)

Based on a Jamie Oliver Recipe for Vanilla Peach Risotto

Melt in a medium saucepan over medium-low to medium heat:
2 Tbsp butter

Add and cook 1-2 minutes:
1 cup Arborio risotto rice

(You'll want to add 3-4 cups of milk over the cooking.  You can either add it all at once, or add it slowly over time as the risotto thickens and cooks.)
Add to the pot:
3-4 cups milk (either all at once, or add a cup now, and more over time)
zest of one orange
juice of one orange
2 Tbsp sugar
1 tsp vanilla bean paste
1 tsp cinnamon

Cook over medium-low to medium heat.  Stir regularly, every couple minutes, to avoid any sticking to the pot.  If you're adding the milk slowly, once the milk has been mostly absorbed by the risotto, then add another 1/2 - 1 cup of milk, until you've added 3-4 cups.

You can make risotto thicker or thinner depending on your preference.  I find this risotto needs a good 25-30 minutes to cook and thicken in order for the risotto to be nice and softened.

Remove from heat and add:
1/3 - 1/2 cup high quality white chocolate chips (optional, but adds a nice flavor for dessert)

Serve risotto warm with fresh or canned sliced peaches or sliced, fresh mango.
These were a hit with my kids. Yum!

Leftover risotto can be stored in the refrigerator.  You can reheat leftovers and serve with sliced peaches or mango.  Enjoy!

Gluten Free Sweet Risotto with Peaches Recipe by Successfully Gluten Free!

Sunday, 11 August 2019

Lemon Cake with Homemade Lemon Curd Filling!

Yummy lemon cake - filled with delicious, homemade lemon curd!  I had a little bowl of leftover  lemon curd that kept having spoonfuls disappear from it each day after making this cake.  The cake is small, only 6" in diameter, but with three layers and packed with flavor, a little goes a long way.  We'll definitely be making this again!  Enjoy!
A slice of yummy lemon cake filled with lemon curd! 
Packed with flavor, this 6" cake is perfect for a summer birthday party!  I slapped the icing on as fast as humanly possible with the help of a five year old.  Still delicious! 

Lemon Cake with Homemade Lemon Curd Filling (Gluten Free)

Makes three 6" round layered cake.

I recommend making the lemon curd filling first, since it seems to take the longest time to chill.  However, you can speed up the chilling of the curd.  I'll explain how after the recipe. 

Lemon Curd:

In a medium saucepan, whisk together:
zest from 2 lemons
juice from 2 lemons (~1/2 cup, make sure to strain for seeds)
2/3 cup water
3/4 cup white sugar
3 Tbsp cornstarch

Heat over medium heat, stirring regularly with a whisk.  Once mixture comes to a boil and has thickened a bit, let boil 1 minute.  Then add and boil 1 additional minute:
2 egg yolks
1 1/2 Tbsp salted butter

Pour the curd into a large bowl.  Cover tightly with plastic wrap.  You can chill in the refrigerator OR, place your bowl into a bowl of ice.  You can fill a freezer ziploc with ice to place on top of the plastic wrap, too, to speed up the chilling.  I use this method when I'm short on time.

You can spread with a knife or place curd in a ziploc, snip the corner, and pipe onto your cake.  I prefer this method for even and easy spreading.
Homemade lemon curd after chilling, ready to place in a ziploc and pipe.

Lemon Cakes:

Preheat oven to 350 F.
Butter and line three 6" round pans with parchment paper.

Whisk together in a large bowl:
1/4 cup white rice flour
1/4 cup coconut flour
1/2 cup white sugar
1/4 tsp baking soda
1/4 tsp salt

Add and whisk until smooth:
1/2 cup milk (or milk substitute)
1/4 cup oil
1 tsp vanilla extract OR vanilla bean paste
3 eggs
5 drops lemon essential oil (I like the DoTerra lemon oil for cooking) (OR 2-3 drops oil + zest of 1 lemon)

Divide batter between the three 6" lined pans.  Bake 20 minutes, until lightly browned.  Let cakes rest 5 minutes before turning out onto a cooling rack to cool completely.

Quick & Easy Buttercream Icing:

In a mixer with whisk attachment, combine and whisk until light and fluffy:
1/2 cup butter, softened
2 cups powdered sugar
1/2 - 1 tsp vanilla extract OR vanilla bean paste
milk, add 1-2 tsp at a time until desired consistency.  
I usually find ~2-3 Tbsp of milk works great for a light and fluffy frosting. 

Layer your cakes as desired.  Ideally, pipe a circle of frosting around the edge of the bottom and middle circle of cake.  Pipe the lemon curd in the middle and gently layer the cakes.  It's best to chill now for an hour to help keep lemon curd from getting squished or leaking out at all.  Make a thin crumb coat of frosting on the sides and top of the cake.  Chill again for an hour or so.  Cover the cake with frosting.  I don't like to have too much frosting on a cake, so I try to keep the frosting to a minimum.
I tend to go for flavor over function sometimes.  I love the lemon curd, and so pipe a circle of frosting and fill with lemon curd on both layers.  To avoid curd squishing out from the bottom layer, you could flavor your frosting with a little lemon zest and lemon oil and then fill the bottom layer with a lemon frosting and the top layer with the curd.  

Keep the cake refrigerated until about an hour before serving.  Slice and serve!  We served it with homemade strawberry ice cream! Yum!
Lemon cake with Lemon Curd served with homemade strawberry ice cream.  We had a quadruple birthday party with extended family, so I used the sunshine muffin batter cooked as cakes, then filled with a cream cheese frosting for the second cake.  Everyone got slivers of each.  A delicious summer treat! Yum! 

Gluten Free Lemon Cake with Homemade Lemon Curd Filling Recipe by Successfully Gluten Free!

Friday, 26 July 2019

Strawberry Pineapple Muffins

Delicious strawberry, pineapple, and coconut filled muffins.  A yummy summer muffin.  A tip for these (and any) muffins - transport them in a backpack with water bottles while in a tupperware instead of a ziploc bag.  Otherwise, they're great for all occasions.  (Everyone still loved them even after the water bottles wreaked havoc on them when we went hiking).
GF Strawberry Pineapple Coconut Muffins
Delicious, fresh strawberry, pineapple and coconut muffins! Yum! 

Strawberry Pineapple Muffins (Gluten Free)

Makes ~12 muffins

Preheat oven to 375 F.  Line muffin tins with liners.

In a large bowl, mix together:
1/2 cup crushed canned pineapple - in fresh pineapple juice (use the fruit & a little juice)
1/3 cup oil
1 egg
1/4 cup plain yogurt
1 tsp vanilla bean paste or vanilla extract
1 cup Kristin's Gluten-Free Flour Mix
1/3 cup sugar
1/4 cup unsweetened desiccated coconut
1/4 tsp baking soda
1/4 tsp salt

Gently fold in:
1 cup fresh strawberries, washed & diced (I like to dice them into small pieces)

GF Strawberry Pineapple Coconut Muffins
Ready to fold in the fresh strawberries

Divide into muffin tins lined with paper liners and bake at 375 F for 20-22 minutes, until lightly browned on top.  Remove from pan to cool on a wire cooling rack.

GF Strawberry Pineapple Coconut Muffins
Batter divided between muffin tins and ready to bake. 
GF Strawberry Pineapple Coconut Muffins
Fresh from the oven! 

I prefer to let these muffins cool completely before eating, but they are nice warm, too.  You can freeze leftover muffins as well.  Enjoy!

Gluten Free Strawberry Pineapple Muffins Recipe by Successfully Gluten Free!

Thursday, 18 July 2019

Flavorful Homemade Seafood Chowder

Packed with flavor, this wonderful, easy, homemade seafood chowder continues to be a favorite around here.   The nice thing about this seafood chowder is that it's usually easy to find a nice white fish, some salmon, and some fresh shrimp to cook into the chowder.  Although, when in season, I do love my seafood chowder packed with fresh lobster, too!  I made this flavorful homemade seafood chowder for a book club luncheon one day, and we had ladies going back to get another bowl!  Enjoy! 
Homemade Seafood Chowder
Delicious bowl of fresh seafood chowder, half eaten because it's too delicious to wait! 

Flavorful Homemade Seafood Chowder (Gluten Free)

Serves 8

Saute in a large pot over medium heat for 4-5 minutes:
1/3 cup butter
1/2 onion, diced
2-3 carrots, sliced
dash salt and pepper

Add, and saute, stirring regularly for 5-7 minutes: (lower the heat a bit, if you're finding it's browning/sticking to the bottom of your pan too much)
1.5 lbs potatoes, diced
3 stalks celery, sliced
1/2 - 3/4 cup diced fennel bulb (I LOVE the flavor this adds)
3-4 cloves garlic, minced OR 1/4 - 1/3 cup garlic scapes, sliced (if in season)

Add and cook an additional 1-2 minutes:
1 tsp salt
1 tsp pepper
2-3 tsp Old Bay Seasoning (adds spiciness, so use less if you prefer less bite)
3-5 dashes Tabasco sauce (can add extra, if you want more of a kick)
1/4 - 1/2 tsp dried oregano
Vegetables in seafood chowder
I like to saute the vegetables for a longer period in the pan, then they can simmer for less time in order to really bring out the flavors and taste.  

Add, then simmer vegetable soup for ~7-8 minutes:
~3 cups water (just until top of veggies)
1 tsp lobster bouillon paste (this really adds a wonderful flavor to your chowder, but you can use a GF chicken bouillon or Asian mushroom seasoning, if needed)

Add to the pot, letting it start to simmer/bubble again while you mix the small bowl of cornstarch and liquids to thicken:
1 cup 10% cream OR whole milk (lactose-free works great)

Mix in a small bowl:
1/4 cup 10% cream OR whole milk
1/4 cup water
2-3 Tbsp cornstarch OR 1/4 cup Kristin's Gluten-Free Flour Mix

Once you've mixed the cornstarch together, you want to add it a little at a time to the bubbling soup.  Stirring and returning soup to a low boil to adjust thickness after you add each 1-2 Tbsp.  I prefer a less thick chowder, but cook and adjust, as you prefer.
Chowder, thickened and ready for seafood
Here's the chowder after being thickened a bit.  I prefer a just barely thickened creamy soup to the thick chowders sometimes served.  In this picture the soup is ready for seafood to be added. 

Once you've achieved the desire chowder thickness and returned your soup to a boil over medium-low to medium heat, add the following and simmer for 10 minutes, stirring occasionally:
2 fillets white fish (cod, haddock, or tilapia), cut in large bite-sized pieces
1-2 fillets salmon, cut in large bite-sized pieces
1-2 large handfuls of fresh shrimp (peeled, deveined, tails off), cut in half, if they're large

You can vary up the fish you use, as you prefer - scallops are great, too.  I like to use more mild-tasting fish, or they can overpower the other ones.

Taste test the soup at this point to adjust with salt and pepper, as desired.  The Old Bay Seasoning has quite a bit of salt, so I usually just add a dash of pepper.

This flavorful seafood chowder is wonderful served alongside garlic bread.  A few breads we enjoy eating as garlic bread are: a tasty Gluten Free French Bread-Style BreadGF white breadGF naan bread, and homemade GF sourdough bread

Gluten Free Homemade Seafood Chowder Recipe by Successfully Gluten Free!

Friday, 12 July 2019

Delicious Chocolate-Packed Coconut Chocolate Chip Cookies!

A new favorite chocolate chip cookie, even for my dad who usually doesn't like desserts with coconut in them.  These just have the most delicious flavor - and the extra crunch of coconut is delicious with the massive amount of chocolate chips.  I love using a variety of different sorts of dark chocolate chips in these.  Yum! I feel like these look a little darker in the pictures than they do in real life, but really you can make them lighter or darker depending on how crispy or soft you prefer your cookies.  Enjoy!  
Fresh out of the oven - these ones were maybe a little darker than I typically aim for, but you can get an idea of how they end up.  They generally don't spread as much as normal cookies because they're so full of chocolate chips.  If you want them to spread a little more, add an extra dash of vanilla extract or water.   
Fresh out of the oven! These ones had a little less chips and extra dash of vanilla. 

Delicious Chocolate-Packed Coconut Chocolate Chip Cookies

Makes ~36 small cookies.

Preheat oven to 350 F. Line cookie sheets with parchment paper.

Cream the following:
½ cup butter
¾ cup light brown sugar

Then add and mix lightly:
½ tsp vanilla extract
2 eggs (I recommend 2 small eggs, or 1 egg and 1 egg yolk)

In a separate bowl, mix together:  (you want to mix gluten-free flours with xanthan gum before adding it to the wet ingredients, so you don’t get clumping)
¾ cup brown rice flour
1/4 cup tapioca starch
2 Tbsp potato starch
½ tsp xanthan gum
½ tsp baking soda
½ tsp salt

Add dry ingredients to wet ingredients, mix just until combined.

Fold in:
1 - 2 cup chocolate chips (mixture of milk, semi-sweet, dark, and extra-dark chips - the more the merrier as far as I'm concerned when we're talking chocolate chip cookies!)
½ cup unsweetened flaked coconut (you can use sweetened flaked coconut, but it's not needed)

Drop 1 Tbsp-sized scoops of cookie dough onto parchment-lined baking pans.
My five year old LOVES helping me bake.  She scooped about half the cookies herself!
Ready to bake!
Bake cookies 7-9 minutes at 350 F, until nicely browned.  For a crispier cookie, you can cook them a minute or two longer. 

Remove from oven, let cool a few minutes on pan before removing to wire rack to cool. 
Enjoy!
Literally 15 minute after we filled the cooling rack with cookies.  Everyone keeps searching for the cookies with the most chocolate chips.  Ha! 

Packed with so many extra chocolate chips they were basically chocolate held together with a little cookie.  They were yummy!

Gluten Free Coconut Chocolate Chip Cookies Recipe by Successfully Gluten Free!