Search for a Recipe

Saturday, 30 November 2019

Chocolate Covered Homemade Marshmallows

Well, these may be bunny molds here, but you better believe these yummy chocolate covered homemade marshmallows will be getting made again for Christmas!  The homemade melt-in-your-mouth marshmallow is perfect coated in a crisp chocolate shell.  Special occasions only, in my opinion. ;) Perfect for gifts or a party!  Enjoy!
Gluten Free Chocolate Covered Homemade Marshmallows
A bite out of a delicious, fresh, homemade marshmallow-filled chocolate bunny.  Yum! 

Chocolate Covered Homemade Marshmallows


Temper your chocolate, as instructed here, and fill 2-3 silicon or plastic chocolate molds with tempered chocolate.  I used a 54% bittersweet chocolate for these chocolates here. 
Chocolate-filled molds

While chocolate sets, prepare your marshmallow (this is 1/2 a batch of my regular homemade marshmallow recipe):

Combine in a mixer with whisk attachment:
1/4 cup cool water
1 pkg. + 1/2 pkg. (1/4 oz each) unflavored gelatin

In a small, deep saucepan, combine the following over medium heat. Cook, stirring, until syrup reaches 238 F - 240 F on a candy thermometer:
1/4 cup cool water
3/4 cups sugar
1/2 cup light corn syrup
pinch salt
*Note: I find heating to 240 F takes ~20-30 minutes, and will go in phases of seeming not to increase in temperature to suddenly jump up 5-10 degrees.  So, make sure you’re paying attention, particularly towards the end.

Remove from heat.  With mixer on low speed, slowly pour the sugar syrup into the softened gelatin.  Increase speed to high and whip until closer to room temperature, about 8-10 minutes. 
This is how the gelatin and boil-sugar mixture will look initially.
Keep whisking and it will fluff up and look like delicious marshmallow fluff.
When there's about 2-3 minutes left for the mixing, add:
1/2 tsp vanilla

The mixing will have cooled the marshmallow down quite a bit.  You do not want this to be really hot while you are piping into your chocolate molds, or you'll melt the chocolate and ruin the temper.  However, I found that by the time it beat for 10 minutes and I placed it into a bag for piping, it had cooled down sufficiently.  

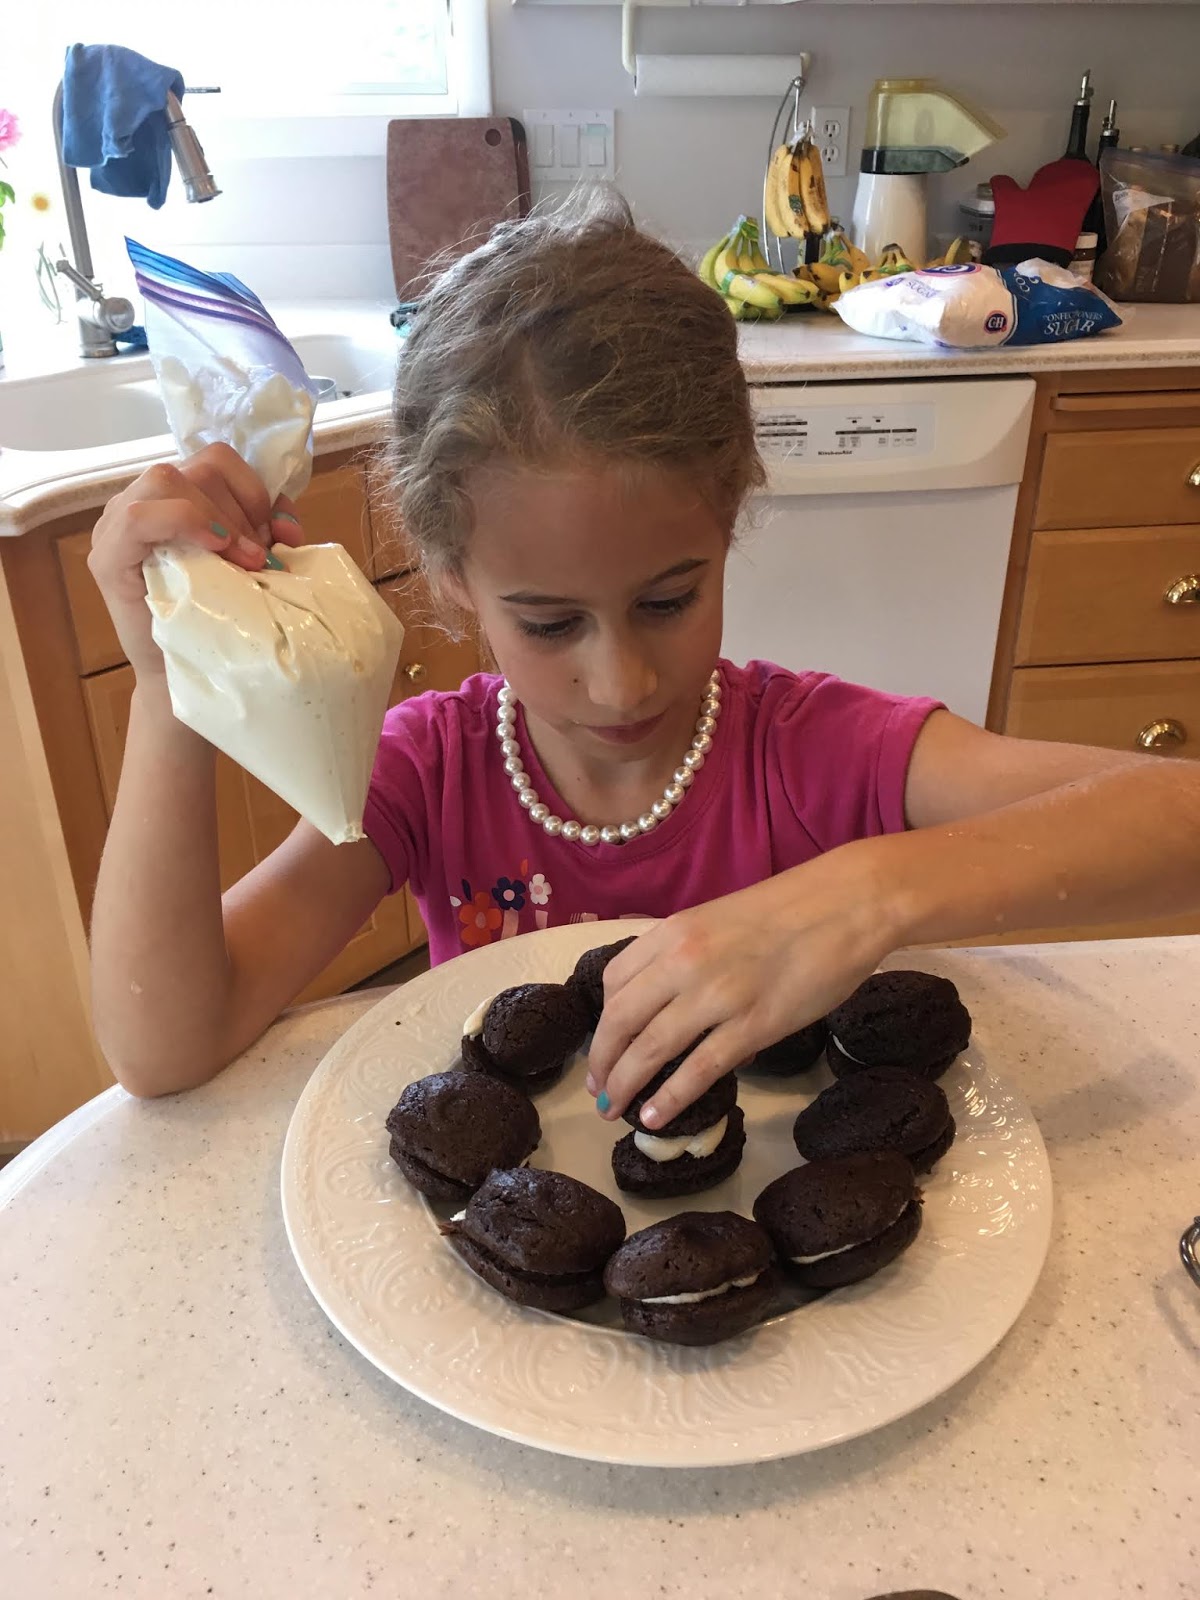
Using a couple small piping bags, fill with marshmallow and cut a small corner off the bag.  Pipe carefully into the molds, filling edges and corners first before filling the rest of the mold.  You can dip your finger in some water to flatten/fix the marshmallow before it cools too much to adjust.  However, you want to use VERY little water, because you are working with chocolate.  You want to avoid the water touching the chocolate.  
Marshmallow carefully piped into the chocolate molds.

Let the marshmallows rest at room temperature 30-60 minutes, to dry out a bit before melting and topping with chocolate.  (You can temper this chocolate, if desired, or just melt and pipe.  I usually do this and don't worry about the bottoms looking as nice as the tops or being as nice and crisp.)  

Once the chocolate has set (you can place it in the refrigerator to help it set), tap out or un-mold the marshmallow-filled chocolates.  These stay nice and fresh tasting for a couple weeks, if they can last that long. (I wouldn't know if they are fresh beyond that point since we've never managed to have any survive past two weeks).  Enjoy! 
Freshly tapped out marshmallow-filled bunnies. Yummmm... 
For a laugh - I tried to pipe homemade peeps, rolling them in colored sugar.  Unfortunately, I didn't actually look at a picture of a peep before piping these, so I ended up with mutant ghost peeps.
They actually tasted A-MAZING - despite looking absolutely horrible.  I don't normally like the sugar covered marshmallows.


Chocolate Covered Homemade Marshmallows Recipe by Successfully Gluten Free!


Tuesday, 12 November 2019

Light & Fluffy Orange Muffins

Light & Fluffy Orange Muffins Recipe! I have an amazing friend Christina, who I hadn't seen in years and was lucky enough to visit recently.  She's the speediest and most efficient cook ever - and really has to be since she has 8 kids to feed!  Seriously, she's awesome!  Her husband was diagnosed with celiac disease, and so this powerhouse has been whipping together yummy gluten-free recipes ever since!  She's the talent behind the chocolate sheet cake recipe I posted awhile back.  She came up with a lemon-y version of this recipe, which I've turned into delicious fluffy orange muffins - I'll post the lemon poppy seed version soon, no worries.  Meanwhile, enjoy!
Gluten Free Orange Muffins
These are made using muffin cup liners a little larger than average.  Glaze before eating. 

Light & Fluffy Orange Muffins

Inspired by my amazing friend, Christina Hansen's lemon poppy seed muffin recipe. Thanks Christina! 
Makes 24 muffins

Preheat oven to 350 F.  Line tins with paper liners or spray with GF nonstick cooking spray.

In a mixing bowl, whisk together:
1 cup brown rice flour
3/4 cup white rice flour
1/4 c + 2 Tbsp arrowroot starch OR cornstarch
1/4 cup potato starch
1/4 cup tapioca starch
1 1/2 tsp xanthan gum
1 tsp salt
1 Tbsp baking powder
2 tsp baking soda
2 Tbsp poppy seeds (optional - use if you want to make orange-poppy seed muffins)

Add and beat 2-3 minutes until nice and smooth, using whisk attachments:
4 eggs
2/3 cup sour cream
2/3 cup milk
1 - 1 1/2 cup sugar (They're more of a dessert if you add the extra sugar, but we like it with less)
1 cup butter, softened
1/4 cup orange juice
zest of 1 orange
15 drops wild orange essential oil (OR zest of 1-2 more oranges)

Divide into prepared muffin cups.  If you have concerns about your muffins sinking in the middle, you can let the batter rest in the muffin tins for 20 minutes before baking.  I've tried it both ways and never had issues, but I do find they rise a little extra if you've let them rest before baking.   Bake muffins at 350 F for 15-20 minutes until golden brown on top.
Gluten Free Light & Fluffy Orange Muffins
These are made using average-sized muffin cup liners. 
While muffins are still warm/hot, whisk together and glaze over the top of the muffins:
3/4 cup powdered sugar
3 Tbsp orange juice
Gluten Free Light & Fluffy Orange Muffins
Fresh Orange Muffins with Orange Glaze on Top.
Move to cooling rack and eat warm or cooled! Enjoy!

Gluten Free Light & Fluffy Orange Muffins Recipe by Successfully Gluten Free!

Tuesday, 22 October 2019

Chocolate Chocolate Chip Muffins

Basically a dessert, but I'm still going to call it a muffin.  It's a fine line sometimes between cupcake and muffin, especially since these are pretty decadent.  Filled with a variety of chocolate chips and made with a dark cocoa powder, they're delicious!  Enjoy!
Chocolate Chocolate Chip Gluten Free Muffins
Chocolate Chocolate Muffins made with an extra brute dark amber cocoa powder
Chocolate Chocolate Chip Muffins
Chocolate Chocolate Muffins made with a lighter cocoa powder.  

Chocolate Chocolate Chip Muffins - Gluten Free

Makes 12-18

Preheat oven to 350 F.  Line 12-18 muffin tins with muffin liners.  This recipe makes 12 larger muffins or 18 regular-sized muffins.

Mix together, then set aside:
1/4 cup boiling water
1/4 cup dark cocoa powder

Mix together:
1/2 cup brown rice flour
1/4 cup + 2 Tbsp white rice flour
3 Tbsp arrowroot starch OR cornstarch
2 Tbsp potato starch
2 Tbsp tapioca starch
3/4 tsp xanthan gum
1/2 tsp salt
1 1/2 tsp baking powder
1 tsp baking soda

Mix in briefly:
2 eggs
1/3 cup sour cream (I love the lactose-free sour cream - can't use sour cream - an unsweetened, dairy-free yogurt will work, too!)
1/3 cup milk (any variety will work)
1/2 cup sugar
1/4 cup brown sugar
1/2 cup butter, softened

Add and beat 2 minutes, scraping occasionally, until smooth:
Cocoa/water mixture from above

Stir in chocolate chips:
1 - 1 1/2 cups chocolate chips (any combination of dark, semi, milk, white, or some of each!)

Scoop into 12 - 18 lined muffin tins.  These are fine resting on the counter 20-30 minutes before baking.  (It's not necessary, but sometimes it can help avoid any sinking in the center of your muffins, although I've tried these both ways (waiting before baking and baking right away) and both ways have worked out nicely).
These muffin liners are a bit larger than the normal ones, so these would look more like 2/3 full with a regular muffin liner.  

Bake at 350 F for 15-17 minutes for smaller muffins and 19-20 minutes for larger muffins.  Remove from pan and cool on cooling racks.  These are delicious still warm.  Leftovers can be frozen and warmed when you want to serve/eat.  Enjoy!!!
Fresh from the oven, before removing to the cooling rack. 
Very happy with her after school snack.
Eating with a fork to avoid spilling on her favorite Calvin & Hobbes comics.

Chocolate Chocolate Chip Muffins Recipe by Successfully Gluten Free!

Wednesday, 9 October 2019

Banana Sunshine Upside Down Cake!

Obviously, you have to like banana to enjoy this cake.  More importantly, you have to like cooked banana - like banana bread.  This Banana Sunshine Upside Down Cake is a fun treat when you want something a little fancier than ordinary banana bread.  Although, I have to say we do love the coconut banana bread with a lemon glaze around here - this is right up the alley with that one as far as how much we enjoy it.  This cake was dreamed up after realizing I could combine two favorite ideas into one new recipe, the Pear Ginger Upside Down Cake (which we love) and my Sunshine Muffins, which we also love.  The result: Banana Sunshine Upside Down Cake!  Enjoy!

Gluten Free Banana Upside Down Cake
Banana Sunshine Upside Down Cake, just after being flipped onto the serving tray. Yum!

Banana Sunshine Upside Down Cake

In a large oven-proof frying pan, melt:
1/4 cup butter

Remove from heat and mix in:
3/4 tsp ground ginger
1 tsp ground cinnamon
1/2 cup brown sugar
1 Tbsp corn syrup (optional, but can help avoid any crystallization)

Arrange 2-3 fresh, sliced bananas on top of the sugar/butter mixture.  I like to use bananas that are yellow, but not covered in brown spots, for the top bananas.  They will hold their shape better, and don't add more sweetness to the top.

In a large bowl, mix together:
2 overripe bananas, mashed
3 oz canned crushed pineapple (with juice) (canned in pineapple juice, not syrup)
1 egg
1/4 cup oil
1/4 cup plain yogurt
3/4 tsp vanilla extract
1/4 cup sweetened or unsweetened coconut  
1 cup Kristin's Gluten-Free Flour Mix
1/4 cup white sugar
1/4 cup brown sugar
1/4 tsp salt
1/4 - 1/2 tsp baking soda
1/4 tsp cinnamon

Spread the batter gently over the bananas.

Bake at 350 F for ~35 minutes, until nicely browned.  Let pan rest 5 minutes on a wire rack.  Carefully flip the cake onto the serving tray.
Letting rest 5 minutes before flipping onto serving platter.
This is on a plate - it's just a clear, glass platter.  
Once flipped, it's ready to eat!  You can serve this hot, warm, or cooled.  We love it warmed best!  Enjoy!
Because we love fruit-filled cakes, I may have made two at once.  A Banana Sunshine Upside Down Cake and a Pear Ginger Upside Down Cake.  Mmm...

Banana Sunshine Upside Down Cake Recipe by Successfully Gluten Free!

Tuesday, 1 October 2019

Jewish Apple Cake 8" x 8" pan

Jewish apple cake, baked in an hour! Here's the recipe, Dad!  Jewish apple cake is one of our favorite desserts, but also tends to take a long to cook, meaning we don't make it very often.  The version I've posted previously, our family favorite Jewish Apple cake is what I've made for years, but this new, updated recipe is great because it bakes in only 1 hour (and has a bit less sugar and ends up being a little lighter and fluffier overall)!  This weekend when we made it, we doubled the recipe so we could bring one cake to a family dinner and have the other as leftovers for home eating! Yum! Enjoy!
Jewish Apple Cake Gluten Free
A slice of Jewish Apple Cake served with vanilla ice cream. Yum!
Jewish Apple Cake Gluten Free
Fresh from the oven - made with the help of my 8 year old and 13 year old!  Bakers in the making. 

Jewish Apple Cake - Gluten Free

Makes 8 x 8 pan

Preheat oven to 350 F.  Line an 8" x 8" pan with parchment paper.

Ideally, make this with a friend -- one can prepare the apples while the other prepares the batter, so they're all ready to assemble at approximately the same time.  If you're cooking on your own, I usually prepare the apples first and then whip up the batter.  

Prepare apples:
In a large bowl, mix together:
1 1/2 Tbsp sugar
1 tsp cinnamon
3 apples, peeled, cored & thinly sliced (I like using Honeycrisp or Cortland apples best.  You can also use Bosc pears - making it into a pear-apple cake.)

Prepare batter:
In a large bowl, combine dry ingredients:
3/4 cup brown rice flour
1/4 cup cornstarch OR arrowroot starch
1/4 cup potato starch
1/4 cup tapioca starch
1/4 tsp xanthan gum
1/4 tsp salt
1 cup white sugar
1 1/2 tsp baking powder
1 tsp ground ginger

Add and mix with a spoon or spatula until smooth:
2 eggs
1/4 - 1/3 cup orange juice OR 1/4 - 1/3 cup milk (plus 2-3 drops wild orange essential oil, optional)
1/2 cup oil (I like using either avocado oil or olive oil, or a mix of both)
1 1/2 tsp vanilla extract

The batter should be fairly thick, but you adding a little more orange juice or milk will make your cake a little fluffier overall.  Add an extra tablespoon or two of liquid if you're worried it might be too thick.  *If your batter is too thin, the fruit will sink during baking.

Layer batter and fruit together, making as many thin layers of batter as you can.  I like to scoop a few spoonfuls of batter into the pan, then use an apple slice to spread around, before adding more apples to make a thin layer.  Add a few more spoonfuls of batter, then use an apple slice to spread around, repeating until you end with a nice layering of apples on the top of your cake.
Jewish Apple Cake Gluten Free
We made a double batch this time around.
Jewish Apple Cake Gluten Free
My fabulously dressed helper - she spread out batter and then the thin layer of apples, and repeated until we finished both cakes! 

Bake at 350 F for one hour.  Remove from oven and put pan on cooling rack.  You can let it cool and serve from the pan, or remove after it's cooled 20-30 minutes.  Best served warm.  We love it served warm with vanilla ice cream.  Enjoy!

Not too shabby for a cake made by an 8 and 13 year old!
Jewish Apple Cake Gluten Free
This is actually a picture from another baking day, made almost completely by my 13 year old.  He used a mix of Bosc pears and Honeycrisp apples.

Jewish Apple Cake 8 x 8 pan Gluten Free Recipe by Successfully Gluten Free!

Thursday, 26 September 2019

Gluten Free Onion & Chive Dinner Rolls

Yummy gluten free dinner rolls!  Perfect with butter as a side to any meal.  I'm always playing around with roll and bread recipes.   The bit of dried onion & chive add some extra punch to the flavor of these rolls.  You could use regular dried, freeze-dried, or fresh (if you use fresh, mince well and use some extra - they aren't as flavor-packed as the dried herbs).  These rolls will work perfectly for sandwiches for lunches, too.  Enjoy!
Gluten Free Onion and Chive Dinner Rolls
Fresh Gluten Free Onion & Chive Dinner Rolls - Ready for buttering! 
Gluten Free Dinner Rolls
Freshly baked Onion & Chive Dinner Rolls

Onion & Chive Dinner Rolls

Makes 18 rolls

Preheat oven to 375 F (350 F Convection)
In a large measuring cup (leave room for the yeast to rise) mix:
1 1/2 cup warm water
6 Tbsp honey
1 Tbsp rapid-rise yeast (also called quick-rise yeast or bread-machine yeast will work well, too)

In a mixer, combine (it's important to mix dry ingredients separately in gluten-free baking to avoid clumping):
1 1/2 cup brown rice flour
1 cup white rice flour
1 cup tapioca starch
6 Tbsp potato starch
1 Tbsp xanthan gum
1 1/2 tsp salt
1 Tbsp dried onion flakes
1 Tbsp freeze-dried chives OR 2 Tbsp fresh chives, minced

Once the yeast mixture has puffed up nicely, add to the flours:
Yeast mixture from above
1 egg + 4 egg whites (OR 3 eggs, but you'll get fluffier rolls w/ egg whites)
6 Tbsp oil (olive oil works nicely)

Beat dough 3-4 minutes until nice and smooth, scraping down occasionally.   Scoop dough into a freezer ziploc.  Snip the corner off.  Pipe rolls onto parchment paper-lined pans.  Spritz dough with some water (can use your fingers).   Let rise 25-30 minutes in a warm location.
Rolls rising - you can spritz dough another time or two, if you like. 

Bake at 375 F (350 F convection) for ~23-25 minutes, until nicely browned.  Cool on wire rack.
Just finished baking! Ready to transfer to a wire rack. Yum! 

Gluten Free Onion & Chive Dinner Rolls by Successfully Gluten Free!

Friday, 13 September 2019

Chocolate Whoopie Pies!

When I was growing up, a favorite special treat was when my dad would bring home whoopie pies from Bova's Bakery in the North End of Boston.  They were huge, with a soft fluffy cake-like top and bottom, filled with fresh whipped cream.  You needed to keep them cold or the inside would melt.  They were delicious.  I've tried myriads of recipes over the years, in my hopes of duplicating the taste that I remember from my childhood.  AND, we have a winner!!!  I made a non-GF version of these years ago, and the key to getting the right consistency in the cake was using mayonnaise.  While it might seem somewhat unusual, it gives the exact flavor and consistency to make what I feel is the perfect whoopie pie.  If you don't want to use fresh whipped cream, these are also delicious with marshmallow fluff frosting as a filling (recipe included below).  Enjoy!!!!!!!!!!
Yummy fresh homemade whoopie pies!!!

Chocolate Whoopie Pies! (Gluten Free)

Makes about 30 whoopie pie sandwiches (~60 individual fluffy cakes)

Mix together until smooth, then set aside to cool a few minutes while you mix together the rest of the ingredients:
1 cup boiling water
2/3 cup Dutch-processed cocoa powder (make sure it's a nice, dark, rich cocoa powder - a dark, amber cocoa powder will work nicely, too)

In a large bowl, whisk together:
1/2 cup white rice flour
1/2 cup brown rice flour
1/2 cup tapioca starch
3/4 tsp xanthan gum
1 1/4 cup white sugar
1 1/2 tsp baking powder
1/4 tsp salt

Add to the dry ingredients:
2 eggs
1 tsp vanilla bean paste or vanilla extract
3/4 cup mayonnaise
water/cocoa mixture from above (add a little first, to help temper the eggs, then add the rest)
Batter, ready to scoop onto cookie sheets. 

Place just smaller than 1 Tbsp scoops onto parchment paper-lined baking sheets.  You should be able to cook 15 cookies to a tray (3 x 5) on 4 trays.   Bake at 350 F for ~10 minutes. 
Whoopie pies fresh from the oven.  Rest a few minutes, then move to cooling rack.

Let whoopie pie cookies rest a few minutes on the tray before transferring to a cooling rack.  Once cool, sandwich with the whipped cream, below, or my favorite marshmallow frosting.  Yum!

Whipped Cream Filling
In a mixer with whisk attachment, whisk until nice and stiff peaks form:
2 cups whipping cream (also known as heavy cream, heavy whipping cream)
~1/3 cup powdered sugar (you can use less/more as desired for sweetness - I like to use only a little powdered sugar in the whipped cream, preferring a not very sweet filling to balance with the sweeter chocolate exterior)
1/2 tsp vanilla extract

Use the whipped cream filling to fill whoopie pies.  You can just add a scoop of whipped cream and sandwich together.  You will want to store these immediately in the refrigerator.  Keep refrigerated until ready to serve.   Enjoy!
Ready to pop into the refrigerator. Mmmm... 
*These are my FAVORITE way to enjoy whoopie pies, but they're also delicious with marshmallow fluff frosting and don't have to be refrigerated prior to serving.*

Optional Marshmallow Frosting Filling
In a mixer with a beat 2-3 minutes, until light and fluffy.
1 cup butter, softened
2 - 2 1/2 cups powdered sugar
1 - 2 tsp vanilla bean paste OR vanilla extract
1 - 2 cups marshmallow fluff

Place in piping bags or freezer ziplocs.  Snip the corner and use to pipe and fill the whoopie pies.   My girls loved helping out with these when we need to make a special dessert.
Eight years old and five years old, filling whoopie pies. 
My 5 year old LOVES to help cook, and these are a perfect treat to make together.
It's important to wear pearls when making whoopie pies. ;) 
Enjoy!!!


Gluten Free Chocolate Whoopie Pies Recipe by Successfully Gluten Free!