Making these fabulous cupcakes was a combined effort of my brother Ben and I for his birthday. They were an absolute hit! I'd been waiting for an excuse to make these for quite some time, and they did not disappoint. I couldn't actually get my 2 year old to wait until we'd sung Happy Birthday before she dove into her cupcake, so she's in the background happily eating away in every picture. The hardest part of this recipe is waiting for each part to cool, so make sure you've got some time for the pudding. in particular, to cool. Mmmm.. Enjoy!
*Recipe updated April 2020. Slightly less sweet creme filling used, and a lighter, tastier cupcake.*
Still a family favorite in 2020. Yum!
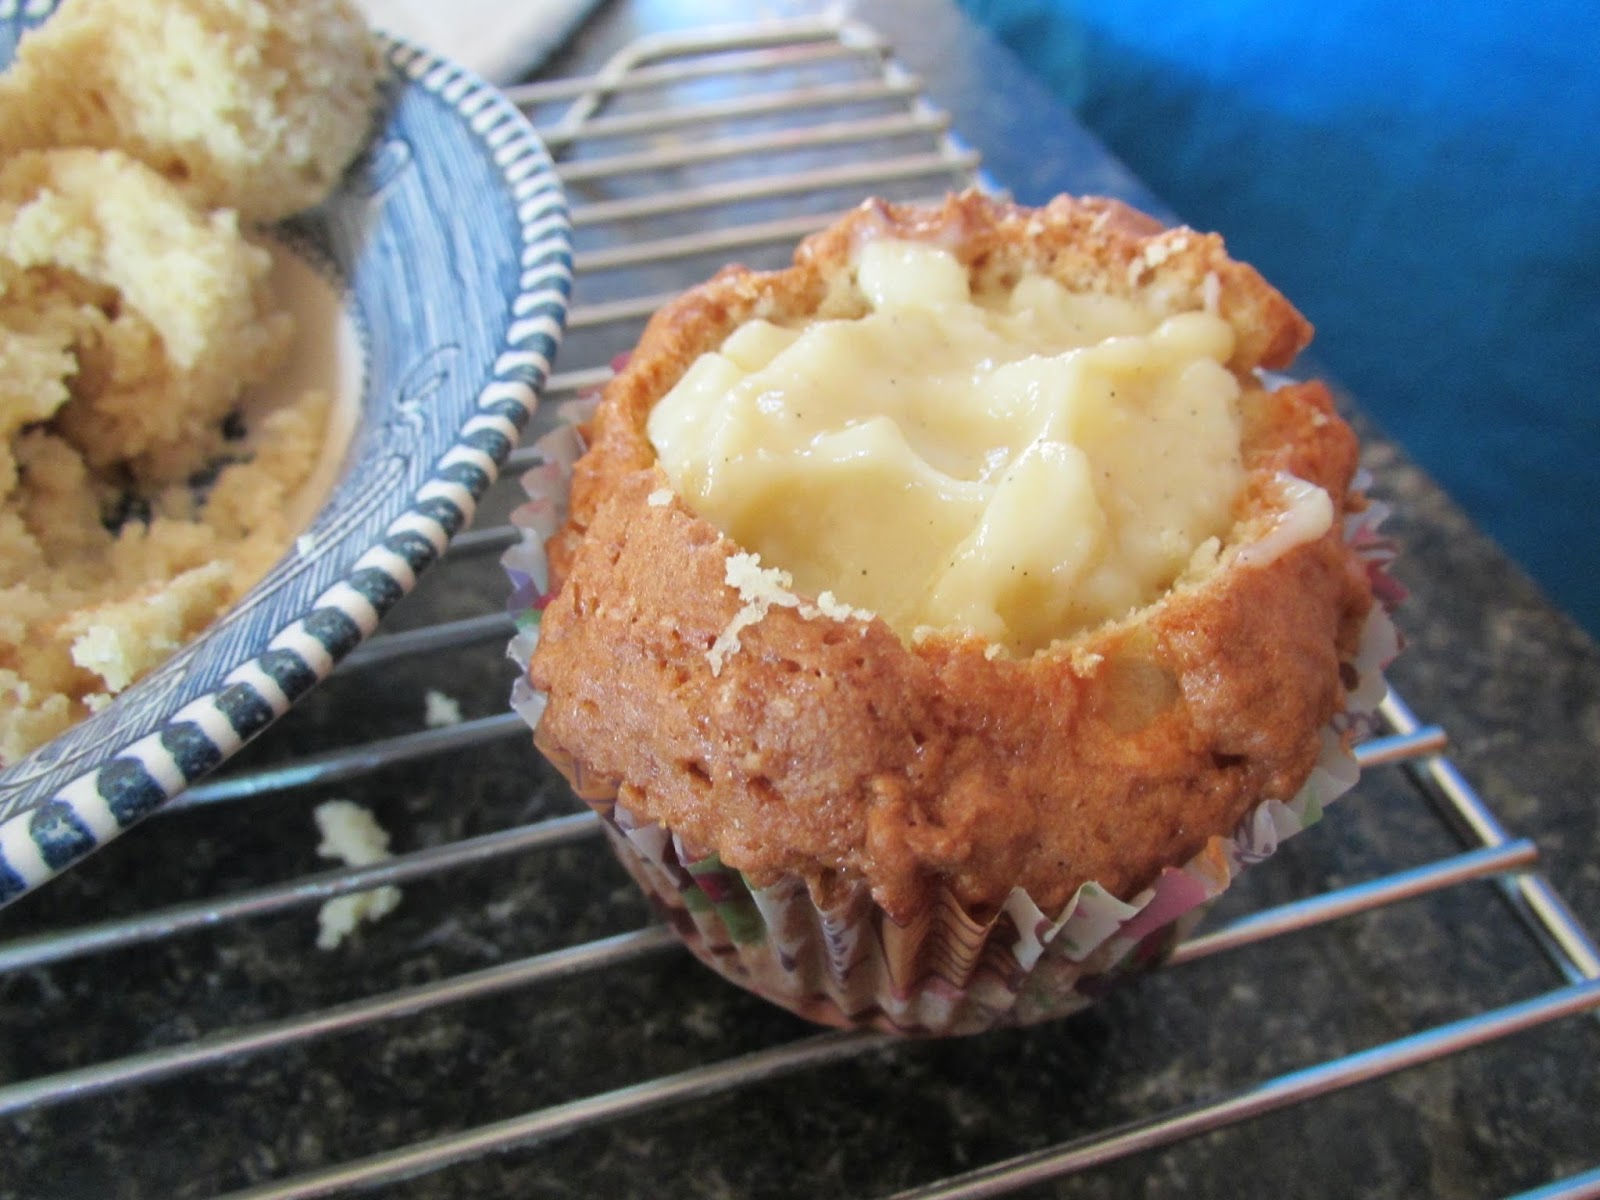
Mmm... Look at that delicious filled cupcake.
The original Boston Creme Pie Cupcake made for my baby brother's birthday. Yum!
Boston
Crème Pie Cupcakes
Makes 12 cupcakes
Make a batch of ‘Kristin’s Homemade Vanilla Pudding’, but use 2 ½ cups milk, instead of 2 ¾ cups. Make
sure to use the vanilla bean paste!!! It makes ALL the difference in taste. I’ve included the recipe here for
convenience:
‘Kristin’s
Homemade Vanilla Pudding’ - to use as crème filling
Place in a saucepan over medium heat:
2 ½ cup
milk (lactose-free works great - for a richer flavor, substitute some half & half for 1 cup of the milk)
1/2 cup sugar
½
tsp salt
Stir occasionally, letting the mixture
come to a boil. Meanwhile, prepare the
following egg yolk mixture.
In a separate bowl, mix:
¼
cup milk (lactose-free works great)
4
egg yolks
¼
cup cornstarch
Once milk and sugar has come to a boil,
let boil 1 minute. Then add in the egg
yolk mixture, whisking constantly. The
mixture should thicken quickly. Keep
stirring until mixture has begun boiling again.
Remove from heat and add:
1 - 2 tsp
vanilla bean paste OR vanilla extract (the bean paste is absolutely lovely in the pudding, if you
can locate it)
Pour into one large bowl. Cover with
plastic wrap, making sure the wrap is on the surface of the pudding to avoid a
tough layer from forming on top. Set aside to cool. Once cooled a bit, put in
the refrigerator to cool completely.
Note: You’ll end up with extra vanilla pudding, but no one around here was
complaining. And, if you double the cupcake recipe, you’ll have the right amount
to fill 24 cupcakes.
For
the 12 cupcakes:
Preheat oven to 350F. Prepare cupcake tin by lining with 12 paper
liners.
Mix the dry ingredients, then set
aside:
2/3 cup brown rice flour
1/3 cup white rice flour
1/4 cup arrowroot starch (or cornstarch)
2 Tbsp potato starch
2 Tbsp tapioca starch
1
tsp xanthan gum
1 - 1 1/2 tsp
baking powder
½ tsp
baking soda
¼ tsp
salt
In a mixer, cream the following until
light and fluffy:
6 Tbsp butter, softened
¾ cup sugar
Add and mix in:
1
tsp vanilla bean paste (You
can use vanilla extract, but I recommend the bean paste)
1
egg
2 egg whites
½ cup
milk (lactose-free works great)
2
Tbsp sour cream OR plain yogurt (some are available
lactose-free)
Add the dry ingredients to the wet and
mix on low to combine, then on high briefly until the batter is smooth. Divide the batter into muffin tins as
evenly as possible.
Cupcakes filled and ready for baking.
Bake at 350 F for 18-23 minutes, until golden brown. Let rest 5 minutes in pan before removing to wire rack. Let cool completely.
Fresh from the oven, giving you an idea of how nicely they rise.
Removed from pans to cool.
Heat to boil over med-high heat:
¼
cup butter
¼
cup heavy cream
Remove from heat and add:
4 oz
semi-sweet chocolate (use high quality chocolate)
Stir gently until smooth (this may take
a few minutes). Leave on the counter to
cool, stirring occasionall. This will allow it to thicken, but still be easy to spread over top your cupcakes. I find it takes a good 20 minutes to cool enough so it's not too runny.
Assembling
your cupcakes!!!
Using a sharp knife, cut around the top
of the cupcake. Remove the top and cut
off the inside part of your top piece.
(you can set these aside and eat at your leisure). Scoop out a bit more of the inside, if
desired.
Top off, and inside cut off from the top. Ready to fill!
Fill generously with vanilla pudding and
cap with the top of the cupcake.
This picture doesn't show the top going back on, but make sure you stick the cupcake top back over the filling before you add your ganache!
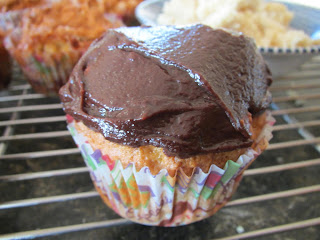
Spread the top of each cupcake with the
creamy ganache topping. Repeat with all cupcakes.
This cupcake was topped after letting the ganache cool and thicken.
These were topped while the ganache was still a bit runny, making it a bit messy to apply, but still looked and tasted delicious.
These store perfectly in the refrigerator. You can serve immediately, or refrigerate to serve later. Best if removed and left at room temperature 20 - 30 minutes prior to serving to allow the ganache to soften. Enjoy!!!
Birthday fun!
My 2 year old eating as soon as the cupcake hit her plate.
Boston Creme Pie Cupcakes by Successfully Gluten Free!
.JPG)


.JPG)

.JPG)

.JPG)


.JPG)


