Search for a Recipe

Tuesday 24 February 2015

Delicious Mini Donuts or Donut Holes!

These are so delicious and scrumptious it's hard to believe they're gluten-free!  I was introduced to avocado oil recently and I love that it can cook at high temperatures and gives such a light taste. It's fabulous! I've been using it in stir-fries, and fried rice, and most recently donuts and donut holes and blueberry fried pies!   This is a tasty and easy recipe to whip together.   The combination of the cinnamon and vanilla bean paste really makes for a great overall taste in these donuts.  I found making the donuts more time consuming, messy and difficult compared to scooping out the donut holes, so I tend to just scoop out the donut holes, although I think these would work perfectly if anyone has one of those mini donut makers I sometimes see at the farmer's market where the batter is at the top and it releases the batter in a circle.   Yum.  I have also frozen these once cooled and while they're not as good as fresh donuts, they're still scrumptious!  Enjoy!
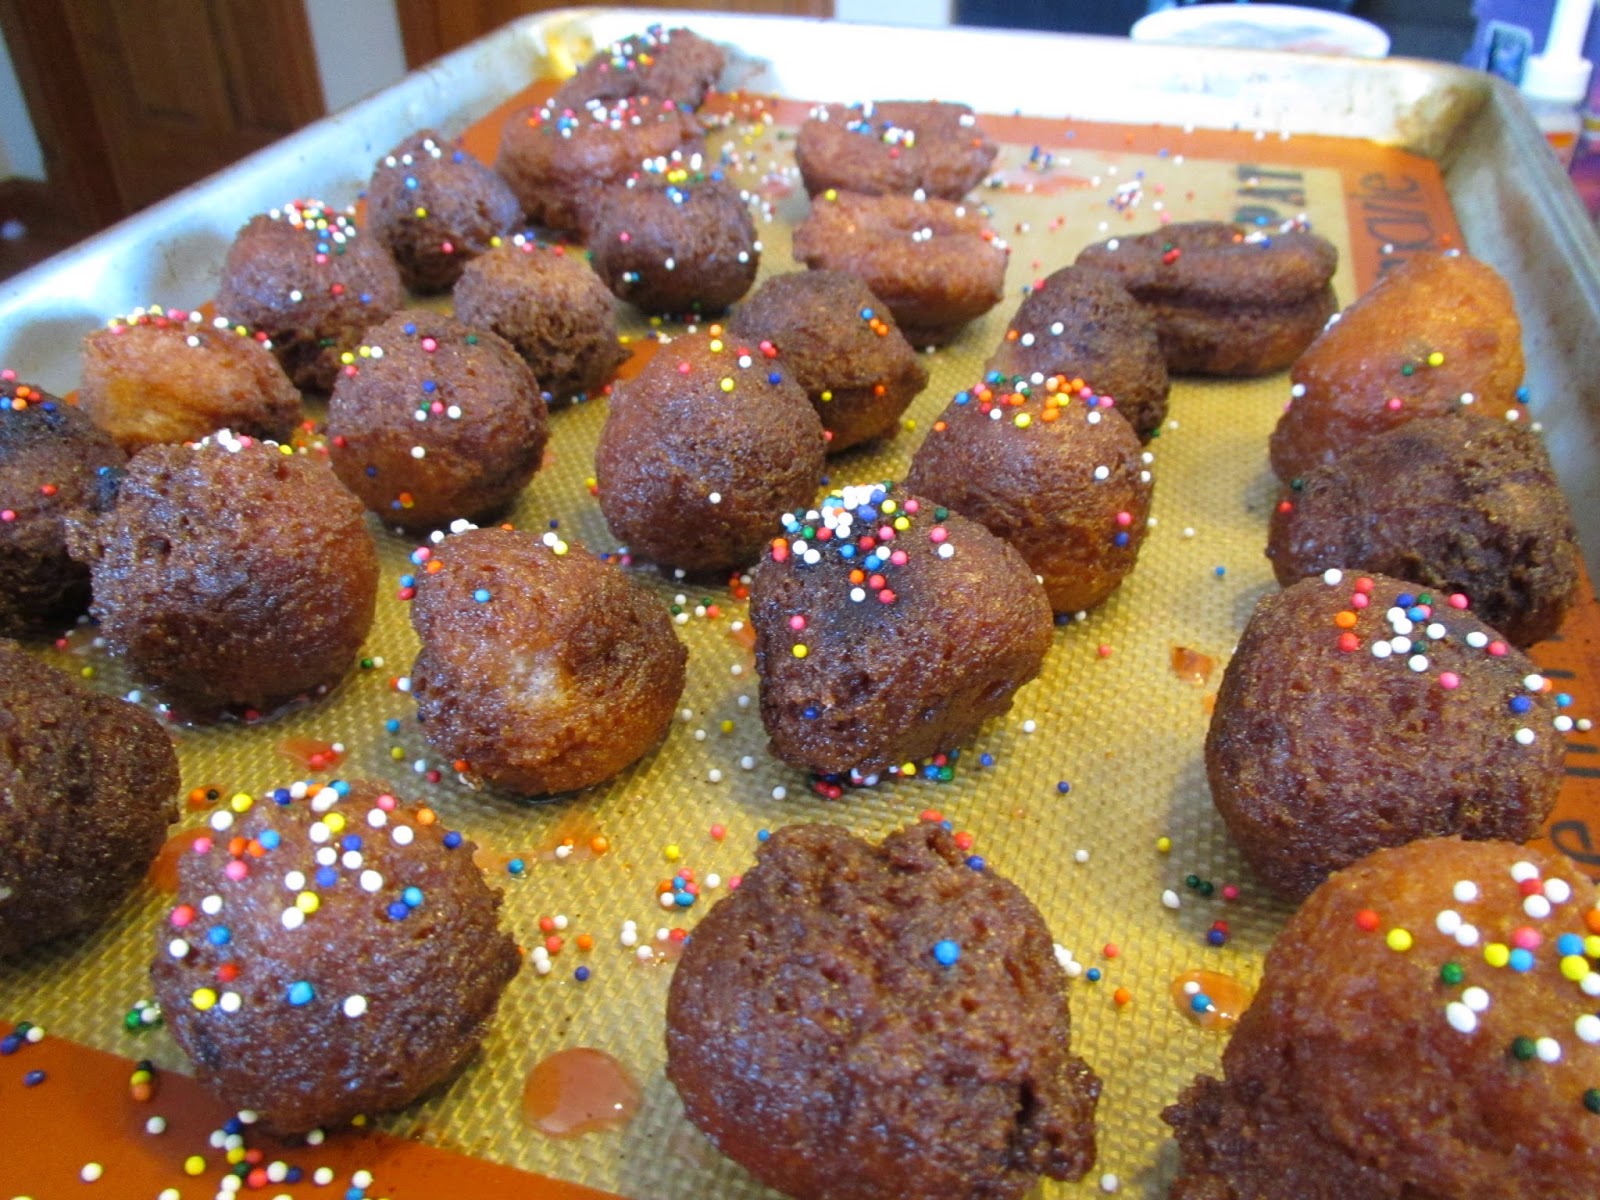
Tasty and ready to eat!  Frozen leftovers reheat wonderfully in the toaster oven, too!

Delicious Mini Donuts or Donut Holes
Makes ~36 donut holes or a combination of mini donuts/donut holes

In a bowl, whisk together:
2 cups Kristin's Gluten-Free Flour Mix
1/2 cup sugar
3 tsp baking powder
1 tsp cinnamon
1/2 tsp salt

Start heating 1" Avocado Oil (or other frying oil of your choice, but this makes the MOST delicious crisp edges on the donut holes) in a high-sided frying pan over medium-heat.  I tend to re-use frying oil several times, particularly if frying non-meat/fish items like donuts.  I'll use this again for blueberry fry pies and samosas!  *I aim for 350F - 375F*

In a small bowl mix together:
1 cup milk (lactose-free works great!)
1 egg
1 tsp vanilla bean paste (or extract)

Mix wet ingredients with dry ingredients with a spoon until thoroughly combined.  Let rest 5-10 minutes.

While the batter rests, whisk together a quick sugar glaze. (I aim for a more liquid-like glaze, but you can make it thick so it's more of a frosting). 
Sugar Glaze:
Whisk together the following:
1 - 1 1/2 cups powdered sugar
1/2 - 1 tsp vanilla extract
3 Tbsp cold water, adding more until desired consistency - it should be just a bit thicker than milk.

Set the glaze aside to dip the donuts after frying.

Line 1 cookie sheet with parchment paper or a silicon mat to place glazed donuts.  Line 1 cookie sheet with a double layer of paper towel to place cooked donuts to drain.

You can now cook these in two ways - as small mini donuts or as donut holes.
1. small mini donuts -- If you want to make mini donuts, use well-oiled hands to form mini donut shapes and drop them gently into the oil.
OR
2. donut holes -- If you want to make donut holes, use a small (1 Tbsp) sized cookie scoop to scoop batter into the hot oil.

In either case, let the donuts/donut holes cook until browned on one side before flipping to the other side.  Often the donut holes flip themselves, but they may need a nudge so they evenly cook.
The donuts will brown a bit more than usual in the avocado oil - aim for a lighter brown for a softer donut and a darker brown for a crispier outside.  (I prefer the crispier option)

Place donuts on paper towels to drain.
Allow them to cool slightly and then dunk them into the sugar glaze, removing with a fork to allow glaze to drain off.  Place them on the prepared cookie sheet to set. While still moist, you can add a few sprinkles on top, if desired.
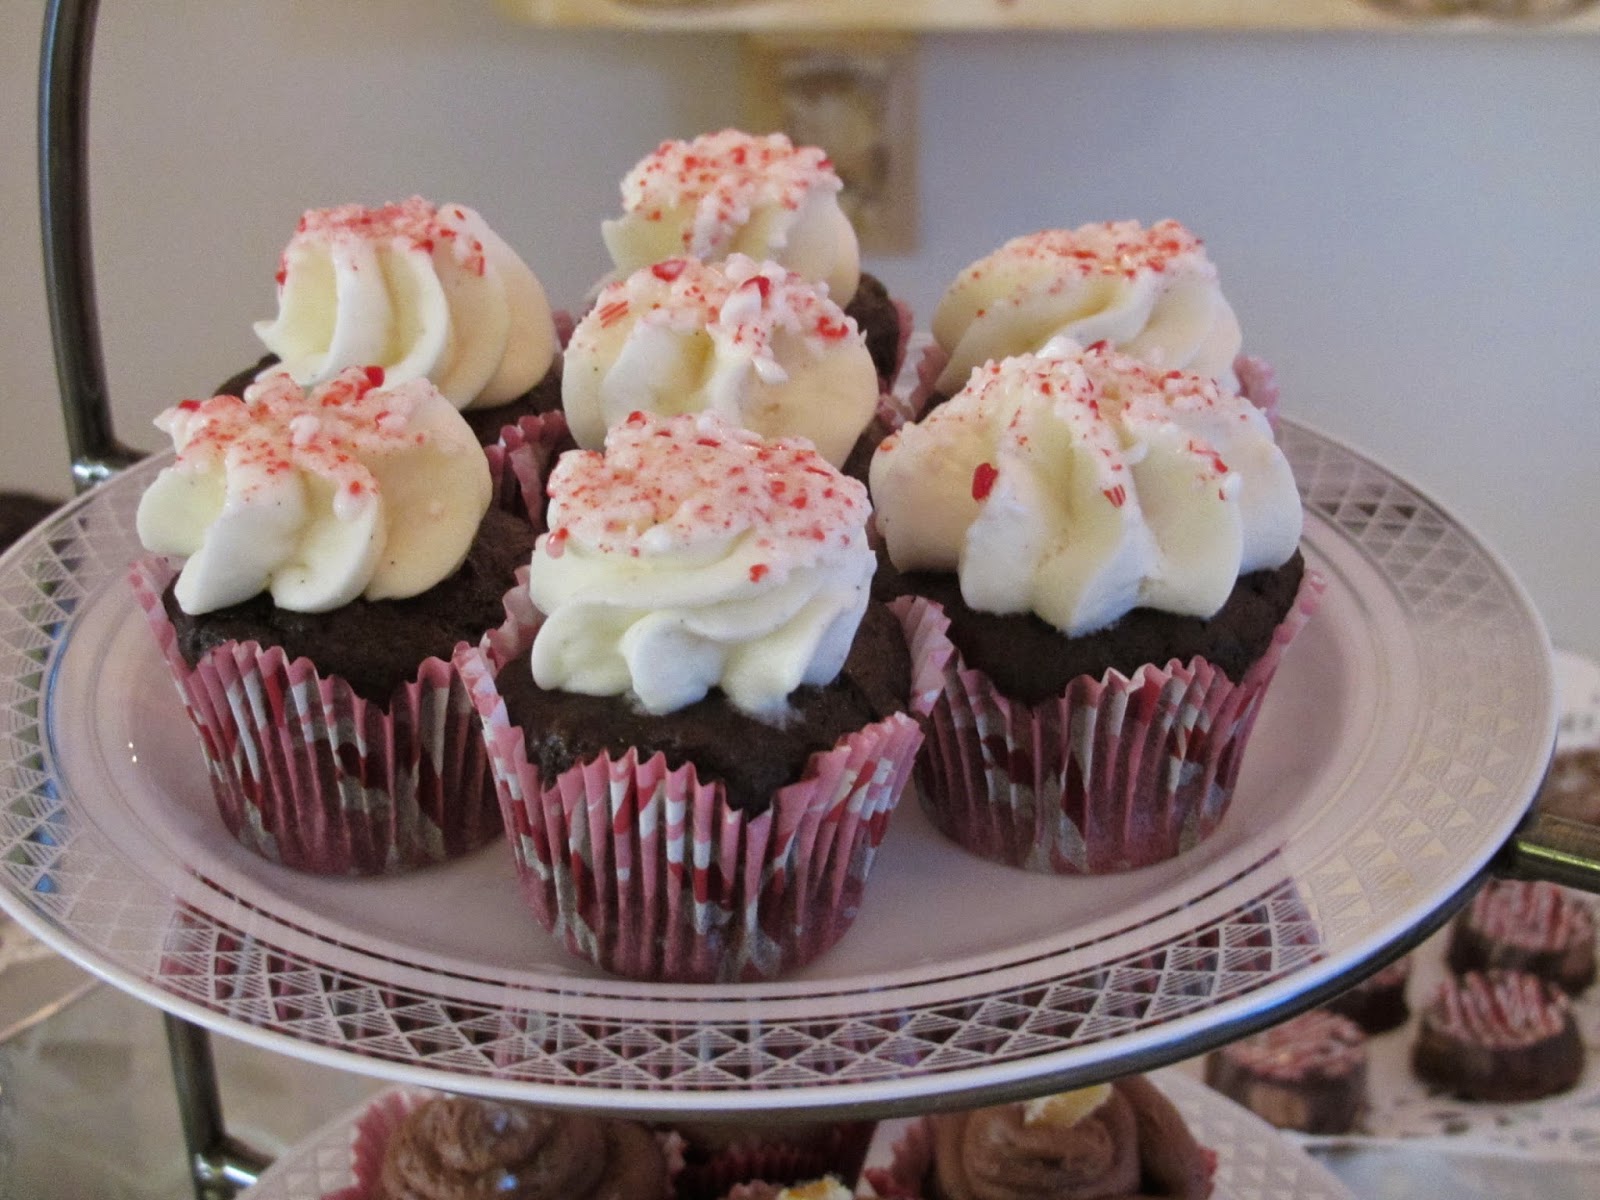
Glazed with sprinkles, per kids request.  These had a pink glaze, also at the kids request.
Best on the day they're made, but they freeze well and reheat in the toaster oven wonderfully! Enjoy!!!

Wednesday 18 February 2015

Gluten-Free Sandwich Bread - Without a Mixer!

This recipe is SO great because you can make a fluffy gluten-free bread quickly without kneading and without a mixer!  You will have to mix with a spoon for a bit, but nothing too strenuous.   If you use molasses and honey, you'll end up with a rich, warm flavored bread.  My kids love the hint of molasses in the bread.  They've been happily inhaling sandwiches made with this tasty bread.  They particularly like when I prepare the toppings and let them assemble - in fact, my four year old will even willingly put spinach on her sandwich and then eat it, provided she gets to make it herself. Enjoy!
A fresh mini-loaf made with molasses 

Gluten-Free Bread without a mixer!
Makes 3 mini loaves or 1 large loaf

Preheat oven to 350F.  Butter 3 mini loaf pans or 1 loaf pan

Mix together and let rest 5 minutes in a 2 cup measuring cup:
1 cup very warm milk (lactose-free works great)
1 Tbsp rapid-rise/quick yeast
1 Tbsp honey + 1 Tbsp molasses OR 2 Tbsp honey
Let the yeast proof until it looks something like this (the molasses does settle to the bottom, don't worry about it. You'll whisk it in later.)

While the yeast is resting, whisk together the dry ingredients in a large bowl:
1 3/4 cup brown rice flour
1/2 cup sorghum flour
1/2 cup arrowroot starch
1 Tbsp xanthan gum
1 tsp salt

Add into the yeast mixture and whisk:
3 eggs
2 Tbsp avocado oil (other oils are fine, but I like the lightness of the avocado oil)
1 tsp apple cider vinegar

Add wet ingredients into dry ingredients and mix together thoroughly using a spoon.  Use the back of the spoon to help smooth out the dough as you mix.  I recommend trying to mix a couple minutes to get things thoroughly combined.
Mix thoroughly until everything is really well combined, then mix a little more just to really make sure things are nicely combined. 
Divide dough evenly between three buttered mini loaf pans OR 1 buttered large loaf pan.    Set in a warm place to rise 30-45 minutes until dough has risen a good half inch, at least, above the top of the pan.  (Your bread will end up about the height it rises to, so make sure it's well-risen before baking).
You can smooth the top better than this if you prefer a nicer looking loaf.

Bread after rising 30-35 minutes in a warm location. 
Bake at 350F for 25-30 minutes for mini loaves and 40-45 minutes for a large loaf.  It should be nicely browned and come easily out of your pan.   Place on cooling racks to cool.
The bread slices nicely, and you can slice it thick or thin.  It's great plain with butter, with sandwiches, toasted with butter and garlic for garlic bread.  Enjoy! 

Saturday 14 February 2015

Easy Pulled Pork w/ Homemade BBQ Sauce

This is a great meal we all enjoy eating.  It's a delicious cold-weather meal, although we'll happily eat it anytime! My sister loves to serve her pulled pork Texas-style on tortillas with dill pickles. We love it!  Usually, unless I've made some tortillas, I just whip together some sort of roll or biscuit to serve with the pulled pork.  The cheddar biscuit-style recipe is *below* for the buns I whipped together here.  They're little biscuits - which the kids loved. The nice thing about this pulled pork recipe is that you make your own BBQ sauce, but you don't have to cook it in advance since it's cooked thoroughly in the crock pot at the same time as the pork.  A nice hearty meal that's also easy to whip together.  If you prefer, you can include the onion and add in a jar of your any BBQ sauce instead of mixing together your own sauce. That will work just as well. Enjoy!
Easy delicious pulled pork, served on homemade little cheddar biscuit-style rolls (recipe below)

Easy Pulled Pork w/ Homemade BBQ Sauce

Serves ~6-8

In a crock pot, mix together quickly (don't worry about mixing it well, it'll combine nicely as it cooks):
1/2 - 1 onion, diced
1 cup ketchup
1/2 cup apple cider vinegar
1/4 cup honey
1/3 cup sucanat sugar (or brown sugar)
1 Tbsp worchestershire sauce
1 Tbsp dark molasses
1 Tbsp GF soy sauce
1 Tbsp hot sauce (the spiciness level depends on what kind you use - I used a local habanero sauce which gave it a nice kick)
2 tsp dry mustard
1 tsp garlic powder
1/2 - 1 tsp ground pepper

Add in, mixing so the meat is coated:
2-3 lbs boneless pork loin roast, chopped into a few large pieces (best to remove any large pieces of fat)

If you feel like you need a little more liquid, you can always add a bit of apple cider/juice to the mixture. It'll cook right in nicely. 

Cook on 'high' in your crockpot for 5-6 hours. (You can also cook it on low 10-11 hours). Shred with two forks and let cook another 20-30 minutes on high in the crock pot.

Serve on rolls, biscuits, baked potato, or GF tortillas of your choice and enjoy!!!
(I served these on quick cheese biscuit-style rolls I threw together, recipe below).

Serving ideas/options:
Hamburger buns
Buttermilk biscuits
Homemade corn flour tortillas
Sourdough Rolls

*Easy Biscuit-type Rolls: 
Makes ~30-36 small biscuit rolls

Preheat oven to 375F.

Mix together (by hand or in a mixer):
1 1/2 cup tapioca starch
1 cup brown rice flour
1/2 cup potato starch
1/2 cup cornstarch
1 tsp salt
1/2 tsp xanthan gum
1 Tbsp baking powder
1 Tbsp sugar
1/2 tsp baking soda

Add and mix in just until combined:
3/4 cup milk
1/2 cup butter, melted
2 eggs
1 cup grated cheese

Scoop by large cookie scoops onto parchment lined cookie sheets.  Bake at 375F for ~20 minutes, until lightly browned on bottom and just starting to brown on top.  They should puff a bit from the cheese.

Let cool briefly on a cooling rack and enjoy! These are best warmed so the cheese is nice and soft.

Pulled Pork is particularly great on days that look like this:
PEI in winter - Trees coated in ice (thank you frozen fog), multiple feet of snow and a view of the frozen bay near our house. Brrrrrr... 

Easy Pulled Pork with Homemade BBQ Sauce and Gluten-Free Cheese Biscuits by Successfully Gluten Free! 


Thursday 12 February 2015

Caramel-Filled Chocolate Cupcakes

As it's almost Valentine's Day, it seems imperative to post this delicious recipe!   It's really just a compilation of some of my favorite recipes, but put together it creates the most wonderfully decadent cupcake, perfect for a special occasion - like a wedding or Valentine's Day. Enjoy!!!
Cupcakes being pieced together - first filled with a large piece of fresh homemade caramel, then topped with big swirls of chocolate marshmallow fluff frosting, and finished with a drizzle of chocolate ganache and a few sugar pearls. Yum!

Caramel-Filled Chocolate Cupcakes
Makes 36

Make a half batch of Homemade Caramels - aim for 235F to get a nice soft, but not liquidy caramel.  Put in a buttered 8" x 8" pan to cool on a cooling rack.

Make one batch of Julie's Top-Secret Amazing Chocolate Cupcake Recipe.  Cook just a few minutes less than normal so the middles of the cupcakes sink just a bit (I know, I know...  this is one of those rare times you want the middles to sink).  If the middles don't really sink, no big deal! Just cut out a tiny bit of the middle from each cupcake so you have a place to put the caramel.

Once both caramels and cupcakes are cooled, prepare the toppings:

Make up a single batch of Chocolate Ganache (for top drizzle - I used semi-sweet chips here).  Set this in a bowl to cool a bit while you mix together the frosting.

Whip together a double (or triple if you want to be really generous with your frosting - you do have 36 cupcakes) batch of Chocolate Marshmallow Fluff Frosting.  Place your frosting in a piping bag with a large round tip.

To assemble cupcakes:
1. Cut a generous size caramel and place in the center of each cupcake (you may need to cut a little cake out of the middle of each cupcakes if they're not concave in the center enough).
2. Pipe a generous swirl of chocolate frosting on top each cupcake.  Start at the outside edge and swirl inwards - this way you cover all evidence of the delicious caramel hidden inside!   If desired, sprinkle a few sugar pearls on top of each cupcake (do this shortly after you pipe so the frosting is still sticky).
3. Place the ganache in a bag and snip the corner OR place in a piping bag with a small circular tip and drizzle the tops of the cupcakes.

ENJOY!!!
Mmmm.... Delicious!  These were one of the most raved about desserts at my brother's wedding.  

Thursday 5 February 2015

Peppermint Chocolate Cupcakes

These are a wonderful cupcake, filled with just the right amount of mint, plus some crushed peppermint on top.  They'd be a cute Valentine's Day treat, too. You can, of course, pipe the frosting to make them look even nicer, but I tend to just swipe it on when we're making it to eat at home.   I even made mini versions for the big gluten-free wedding reception I put together for my brother and his wife. Enjoy!
*I prefer to use the DoTerra Peppermint Essential Oil in this recipe, which you can find at mydoterra.com/cstolworthy, my friend Christine's online store.

Mini versions in candy cane wrappers topped with my favorite marshmallow frosting with tops dipped in crushed candy cane

Peppermint Chocolate Cupcakes
Makes 12 to 36 cupcakes, depending on recipe used

Homemade recipe: 
Makes 36 cupcakes
Make up one batch of Julie's top-secret Amazing Chocolate Cupcakes.  Add 6-9 drops DoTerra Peppermint Essential Oil* into your batter.  Put in 36 muffin tins, lined with paper lining.  Bake as directed.

Box mix method:
Makes 12 cupcakes
Use either President's Choice or Betty Crocker GF chocolate cake mix.  Mix together as directed, using oil in place of butter.  Add 3 drops DoTerra Peppermint Essential Oil* into your batter.  Separate into 12 muffin tins. Bake as directed.

Frost with either half or whole batch of my favorite marshmallow frosting, depending on how many cupcakes you make.
You can either:
1. Mix **crushed candy cane (remove any large pieces) into the frosting
OR
2. Sprinkle or dip **crushed candy cane (remove any large pieces) on top of the frosting.

A special holiday treat! This was the quick slather on version - Yum!

These were a BIG hit!

*I prefer using the DoTerra Peppermint Essential Oil in this recipe. The taste is fabulous. You can buy the DoTerra Peppermint Essential Oil at mydoterra.com/cstolworthy, my friend Christine's online store.  The great thing I love about the DoTerra Essential oils is that they're a very high quality and taste, and are made to be ingested - they have all sorts of other flavors that can be used in cooking and baking! 
**To make crushed candy cane, place unwrapped candy canes (or hard peppermint candies) in a ziploc bag (then again in another ziploc bag to avoid excess mess) and crush with something hard - I tend to use the end of my rolling pin.

Monday 2 February 2015

Easy Kid-Approved Twice-Baked Potatoes

 I whipped these together on a cold (very very cold) day and they were inhaled.  There were hysterical 'mmhmm...' sounds coming from the 11 month old, and the 4 year old was chattering about how these were her favorite. My almost 9 year old was asking how many potatoes he could eat for his dinner, 3 or 4?  These are a great and easy meal to whip together - not much different than putting together baked potatoes for dinner, but they just have that extra something to them that really takes it to a new level of tastiness. Enjoy!

A great all-in-one meal, ready to eat!
A full pan of delicious stuffed potatoes - made to help us all weather a blizzard.

Easy Kid-Approved Twice-Baked Potatoes
Based on a recipe idea from Southern Living Magazine
Makes 8 open-faced potatoes

Scrub, poke several times with a fork and then cook 4 large russet potatoes either by baking in the oven until soft or microwaving.  (Oven takes ~40 minutes at 400F, microwave takes ~ 10-15 minutes to give you a guideline - I prefer oven cooking)

Preheat oven to 400F. Line a baking sheet with foil.

Slice potatoes in half and carefully scoop out the insides, placing potato flesh into a large mixing bowl.  Place the potato shells on your foil-lined baking pan.

Mix into potato in large bowl: (I chop/mix using a pastry cutter)
2-3 oz regular or light cream cheese
3 Tbsp butter
1/3 - 1/2 cup milk
Salt and pepper, if desired (you'll season the topping, so this doesn't really need salt/pepper, I find)

Mix in:
1 cup cheddar cheese, chopped into small pieces
1 - 1/4 cup frozen peas
4-5 slices turkey breast, chopped

Add extra salt/pepper, to taste.  If you want a lighter/fluffier filling, mix in a bit more milk.

Fill potato shells evenly.  Bake at 400F for 15-20 minutes.  Serve and enjoy!