Search for a Recipe

Showing posts with label cookies. Show all posts

Friday, 7 November 2025

Oatmeal & Coconut Cookies

 This recipe is great because you can just mix it all by hand with a spatula - no mixer required! Yay! It's a yummy cookie that has a bit of a granola bar type taste, but the little bit of caramel sugar sweetness of a baked cookie. Enjoy! 
Delicious Oatmeal & Coconut Cookies! 

Oatmeal & Coconut Cookies


Makes ~60 cookies (yes, by all means halve the recipe if you don't want that many, but I love having extra cookies to freeze or give away). 

Preheat oven to 350 F. Line baking sheets with parchment paper. 

Mix in a large bowl: 
1 cup white rice flour
1/2 cup buckwheat flour (or additional white rice flour)
2 cups GF quick oats
2 cups sweetened shredded coconut
1 cup brown sugar
1/2 cup white sugar
1 tsp salt
1 tsp baking soda
1 Tbsp cinnamon

Add and mix in with a spatula: 
1/2 cup oil 
1/2 cup butter, softened/partially melted
4 eggs
1/2 cup applesauce
4 tsp vanilla extract

Fold and mix in (you can adjust these as desired, but I like the taste with a bit of all three dried fruits. Don't feel like dried fruit, no problem! You can skip adding these): 
1/2 cup raisins
1/2 cup dried cranberries
1/2 cup dried currants

Scoop heaping 1 Tbsp scoops onto parchment lined baking trays. Bake at 350 F for ~10 min. until nicely browned. Let rest on pan for 10 minutes to cool before removing to wire racks to cool fully.  Delicious fresh! I like to put cooled cookies in the freezer to take out and enjoy anytime. We find these are great cookies to take along when travelling, since they're like a tasty granola bar.  Enjoy! 
Fresh from the oven! You can cook them until browned around the edges for a softer cookie, or until mostly browned throughout for a crispier cookie. 
Cooling on wire racks. Yum!

Oatmeal & Coconut Cookies Recipe by Successfully Gluten Free!

Monday, 6 October 2025

Browned Butter Chocolate Chip Cookies

 These maybe should be called Chocolate Chips with a bit of Browned Butter Cookie holding them together, since that's really what they are.  Absolutely delicious, crispy, buttery, and packed with chocolate. Plus, you don't even need a mixer! Enjoy!

Delicious Chocolate Chip Filled Cookies - I'm telling you, they are packed with chocolate. Yum!

Browned Butter Chocolate Chip Cookies


Make ~3 - 4 dozen cookies, depending on size of scooping.

In a small saucepan over medium heat, place: 
3/4 cup butter

Stirring constantly, making sure to scrap the bottom well, let cook and bubble for 5-7 minutes, until it turns into a nice golden brown. Make sure to keep an eye on it, since you don't want to overcook the browned butter. The little bits at the bottom are nice browned bits of milk, which have a lot of flavor, so that's totally normal to see and you'll want to keep and add them into your cookie dough, as well.  

Remove from heat. Pour the browned butter into a bowl.  You want to let this cool to room temperature. If you try to use it while hot, it will melt the sugar and you'll end up with a less desirable texture to your cookies. 

Preheat oven to 350 F. Line 3 baking sheets with parchment paper.

In a large bowl, stir by hand, spreading with the back of the spoon/spatula until nicely mixed and creamy looking: 
browned butter, from above, RT
1/4 c + 2 Tbsp sugar
1/4 c + 2 Tbsp brown sugar
1 tsp vanilla extract or bean paste
1 egg

Whisk together the following in a bowl, then stir it into the butter mixture: 
1 cup white rice flour
1/4 - 1/2 tsp xanthan gum
1/2 tsp baking soda
1/2 tsp salt

Add and fold in: 
2 - 2 1/2 chocolate chips (I like to use a variety of high quality dark and semi-sweet chips)

The dough should really feel like a bunch of chocolate chips barely held together by dough.  Scoop 1 Tbsp scoops onto parchment lined pan.  
Scooped and ready to bake!

Bake at 350 F for 8-11 minutes, until nicely browned.  Let rest on the pan 10-15 minutes, to cool enough to lift onto a wire rack to fully cool.  Leftovers can be frozen in a freezer ziploc. Enjoy! 
Fresh from the oven and ready to taste-test!
I'm including this picture as a sort of FYI. If you are impatient and mix in the sugars before the browned butter has cooled enough, your cookies will end up more crumbly and crisp with a darker overall appearance because of the melted sugars.  They'll still taste good, but they'll be much messier and just not as delicious as it could be if you let the butter cool. 

Browned Butter Chocolate Chip Cookies Recipe by Successfully Gluten Free!

Wednesday, 26 February 2025

Oatmeal Raisin Cookies

This is a great cookie recipe, since you can mix it by hand or in a mixer - both work great - making it nice and versatile.  Of course, it helps if you like oatmeal and raisins in cookies - so feel free to not make them if you dislike that combination. Plenty of other delicious recipe ideas on my blog! 
GF Oatmeal Raisin Cookies - fresh from the oven!

Oatmeal Raisin Cookies


Makes ~36 cookies. 
Preheat oven to 350 F. Line cookie sheets with parchment paper or silicon liner. 

In a bowl or in a mixer, mix together: 
3/4 cup white rice flour
1 cup GF quick cook oats
1/2 cup brown sugar
1/4 cup white sugar
1/2 tsp salt
1/2 tsp baking soda
1 1/2 tsp cinnamon
1/4 tsp nutmeg (optional)

Add and mix in, just until combined: 
1/4 cup oil
1/4 cup butter, softened
2 eggs
2 tsp vanilla extract or bean paste

Mix in: 
1/2 cup raisins

Scoop 1 Tbsp scoops onto parchment-lined pans. Bake 9-11 minutes at 350 F. A bit lighter color will lead to a softer cookie. I prefer to aim for a darker brown, so they have a bit more of a bite and caramelized crunch to them.  Let rest a few minutes before moving to a wire rack to cool. Leftovers freeze perfectly! Enjoy! 
Scooped and ready to bake!
Ready to cool a bit then transfer to wire racks. 

Oatmeal Raisin Cookie Recipe by Successfully Gluten Free!

Friday, 22 November 2024

Pumpkin Oatmeal Sandwich Cookies

 Yep, we eat a lot of pumpkin and squash around here in the fall. And these delicious pumpkin oatmeal sandwich cookies (whoopie-pie like) are a delicious treat to make with fresh pumpkin puree or canned pumpkin. Enjoy!
Delicious, fresh pumpkin oatmeal sandwich cookies!

Pumpkin Oatmeal Sandwich Cookies

Preheat oven to 350 F. Line pans with parchment paper. 
Makes ~24 small sized sandwiched cookies, or fewer if you make larger sandwiched cookies.

Mix together in a large bowl, and set aside: 
1 cup gluten-free oats
1/2 tsp baking soda
1 - 1 1/2 tsp pumpkin spice blend
1/2 tsp salt

Cream together in a mixer: 
1/2 cup butter, softened
3/4 cup sugar
1/2 brown sugar

Add in: 
2 eggs
1 tsp vanilla

Stir in the dry ingredients until well blended, making sure to scrape the sides of the bowl well to thoroughly mix. 
Scoop 1 or 2 Tbsp scoops onto a parchment lined pan. Flatten gently with fingers. (you can dip them in a small bowl of water to help avoid sticking, if you prefer)
Bake at 350 F for 10 - 11 minutes for the 1 Tbsp scoops and 13 - 14 minutes for the 2 Tbsp scoops.  

Let rest a few minutes before removing to cooling racks to fully cool. 

Prepare the cream cheese frosting filling.  
Mix or beat together (beating til fluffy makes for a lighter overall frosting, which I prefer): 
2 Tbsp butter, softened
3 oz cream cheese, softened
2 cups powdered sugar
2-3 tsp milk, add 1 tsp at a time and beat, then add more to desired consistency

Pipe from a ziploc bag or scoop frosting onto cookies and sandwich. These sandwich cookies freeze well, too! Enjoy!
I like to use about this much cream cheese frosting in each sandwich cookie.
A mixture of large and smaller pumpkin oatmeal sandwich cookies. Yum!

Pumpkin Oatmeal Sandwich Cookies Recipe by Successfully Gluten Free!

Sunday, 7 July 2024

Crispy Lemon Cookies!

 These yummy crispy lemon cookies are a request from my dad - and what a perfect summertime request they are! They're lovely and light. And leftovers freeze perfectly, for little treats anytime! 
Enjoy! 
Delicious crispy lemon cookies - cook to a slightly darker brown for a crispier cookie. These had a slight softness to the center. 
I recommend at least this brown, but add an extra minute or two for a fully crispy cookie. 

Crispy Gluten-Free Lemon Cookies!

Makes ~36-45 (depends on size of your scoops)

Preheat oven to 375 F. 

In a large bowl, whisk together the dry ingredients (it's important to do this in GF baking to avoid clumping):
1 cup white rice flour
1/4 - 1/2 tsp xanthan gum
1/2 tsp baking powder
1/2 tsp salt

In a mixer, beat until light and fluffy:
1/2 cup butter, softened
3/4 cup white sugar

Add and mix in until thoroughly combined and still light and fluffy: 
2 egg whites
zest 2 lemons
1 tsp milk (you may need a little extra if you find your cookies don't spread as much as you like)
3-6 drops lemon essential oil
Light and fluffy wet ingredients, ready to mix in the dry ingredients.

Add and mix in dry ingredients, just until combined.  Scoop small Tbsp size scoops onto the pan. You can flatten a bit, if desired, for a slightly wider cookie.  
Small scoops - these do spread when baking - and you can flatten a bit before baking for thinner & wider cookies. 

Bake at 375 F for ~10 minutes, or until a nice light golden brown.  For less crispy cookies, they can be a bit pale on top and browned on the edges, and for a crispier cookie, cook an extra couple minutes until nicely light browned on top. 
Fresh from the oven - these are a lighter brown, so end up with a slight softness left in the center, but are wonderfully crispy around all the edges. Cook til fully light browned on top for a crispier overall lemon cookie. 
Cooling on the cooling rack - with one flipped over to show the light browned bottom. I recommend at least this brown, if not a bit darker for a crispier cookie. 

Let rest a minute or two before removing to cooling racks to fully cool.  Leftovers store perfectly in the freezer!  These lemon cookies are great on their own, or served with homemade lemon curd or ice cream. Enjoy!

Crispy Lemon Cookies Recipe by Successfully Gluten Free!

Friday, 8 March 2024

Chocolate Chocolate (& Mint) Chip Cookies!

 So... these cookies came about at the end of a long, stormy icy day - and they hit the spot perfectly!  Soft chocolate chocolate chip cookies, packed with plenty of chocolate chips. I love the addition of mint chips, but these would be great with any combination of chocolate chip varieties. Enjoy! 
Yum! Soft, chocolate packed - what's not to love?
Out exploring the day after the ice storm. 

Chocolate & Mint Chip Cookies

Makes ~36 - 48 cookies, depending on your scoop size~

Preheat oven to 350 F.  Line baking sheets with parchment paper or silicon liner. 

Whisk together in a bowl, then set aside: 
1 cup white rice flour
1/2 cup cocoa powder (a rich, dark cocoa powder is my favorite)
3/4 tsp xanthan gum
3/4 tsp baking soda
3/4 tsp salt

Cream together until nice and fluffy: 
3/4 cup butter, softened
1/3 cup sugar
1/2 cup brown sugar

Add and mix, scraping down regularly: 
2 eggs
1 1/2 tsp vanilla extract (or vanilla bean paste)

Add GF flour mix from above, and mix in, just until combined. 

Add and mix in gently (you can adjust the amounts and types of chips as you prefer): 
1 - 1 1/2 cup semi or dark chocolate chips
1 cup mint chips (You can just add extra chocolate chips - any type - if you don't want to use mint)
1/2 cup milk chocolate chips

Scoop heaping 1 Tbsp scoops onto the prepared pans.  I aim for 12 per pan.  Bake at 350 F for 10-12 minutes.  Let rest a few minutes on pan before removing to cooling racks.  Leftover cooled cookies can be frozen for later.  Enjoy!!! 
Scooped and ready to bake!
Fresh from the oven!
Just one more picture of the yummy chocolate chocolate chip cookies! 

Chocolate Chocolate (& Mint) Chip Cookies Recipe by Successfully Gluten Free!


Monday, 11 July 2022

Snickerdoodle Cookies!

 There are all sorts of varieties of snickerdoodle cookies, but these are the light and flaky sort of cookie.  I really wanted some sort of light cinnamon treat to have after a rich meal of homemade enchiladas (technically, I made the easier to whip up lasagna-style layered enchiladas), but wasn't quite in the mood for something as decadent as a gluten-free tres leches cake.  These were perfect!  Nice and light.  Enjoy! 
Yummy GF Snickerdoodle Cookies, fresh from the oven! 

Snickerdoodle Cookies!

Makes ~48 small cookies
Preheat oven to 350 F.  Line cookie sheets with parchment paper or silicon liners.  

In a small bowl, mix together, and then set aside: 
1/2 cup sugar
1-2 Tbsp cinnamon (depending on how you like it)

In a large bowl, whisk together dry ingredients: 
1/2 cup brown rice flour
1/2 cup arrowroot starch (or scant 1/2 cup cornstarch)
1/4 cup tapioca starch/flour
1/4 cup potato starch
3/4 tsp xanthan gum
1/4 tsp baking soda
1/4 tsp salt

In a mixer, cream until light and fluffy: 
1/2 cup butter, softened
4 oz cream cheese, softened
3/4 cup sugar

Add and mix in, scraping down a couple times: 
1 egg
1 tsp vanilla bean paste or extract

Add the flour mixture ingredients into wet ingredients.  Mix, just until combined.  

Scoop small scoops of dough into your cinnamon-sugar mixture, gently using your fingertips to roll the dough around in the cinnamon-sugar.  Place each cookie ball onto your pan.  Press gently to flatten a bit.   These do spread out quite a bit, so here I used a smaller than average scoop and some did hit into the others, if in doubt, make a tray with them 3 x 4 and see how they look, then you can adjust.  

Scooped, rolled, and ready to flatten!
Flattened slightly, and ready to bake.  I find doing this before baking makes for a much more event cookie overall. 

Bake at 350 F. 10-12 minutes, or until just turning brown at the edges.   Remove from the oven and let rest a couple minutes on the pan before using a spatula to move to a cooling rack.  

These should be fine to store in a closed container for a few days at room temperature, but I prefer to freeze leftovers in a ziploc for later.  Enjoy! 
Fresh from the oven! Yum! 


Gluten-Free Snickerdoodle Cookies by Successfully Gluten Free!

Sunday, 24 April 2022

Orange, Cranberry & Vanilla Cookies!

 This yummy soft gluten-free orange, cranberry and vanilla cookie recipe has a perfect combination of sweet and tart.  We love the flavor of the cookies.  If you can find orange-flavored dried cranberries, I find they're even nicer than plain dried cranberries in these cookies.  While you can use vanilla extract in these cookies, I highly recommend vanilla bean paste for a stronger vanilla flavor. These are a yummy, easy to whip together gluten-free cookie recipe.  Enjoy! 

Orange Cranberry Vanilla Cookies
Yummy GF Orange Vanilla Cranberry Cookies
My little sous chef who helped make these cookies.   

Orange, Cranberry & Vanilla Cookies

Based on a non-GF recipe by King Arthur Flour Company.
Makes ~48 cookies

Preheat oven to 425 F.  Line two pans with parchment paper.  

In a mixer, beat together: 
1/2 cup butter, softened
3/4 cup sugar
zest/grated orange peel from 1 large orange (or two small oranges)
1 tsp vanilla bean paste
1/4 tsp baking powder
1/4 tsp salt

Mix in, scraping a couple times: 
1 egg

Stir in, just until combined: 
1 1/2 cups Kristin's Gluten-Free Flour Mix * (for measurements for this amount see below) *
2 cups dried cranberries (orange-flavored dried cranberries are the best if you can find them)

Drop small scoops (heaping teaspoon) of cookies onto parchment-lined pans.  You can make 4 x 6 rows on the cookie sheets.  

Using a flat bottomed glass, dip your cup in sugar, then flatten each cookie until they're 1/4" - 1/2" thick.  You may need to dip and flatten a couple times until you reach the desired thickness.  These cookies don't spread much during baking. 
Dipping & flattening the cookies before baking.
This is her favorite part.

Bake cookies at 425 F for 6 - 7 minutes until barely browned at edges.  If you use a larger scoop, which would give you cookies about 3 x 5 on each pan, you'll want to increase the baking time to 8-9 minutes.  

Let the cookies rest on the pan until mostly cooled, then carefully move to cooling racks to fully cool.  These are delicious fresh, but store well for several days at room temperature in an air-tight container.  Enjoy! 
Fresh from the oven - cooling before being moved to wire racks.  I prefer them a little less browned on the bottom than in this photo.
*** GF Flour Mix measurements for this recipe *** 
Kristin's Gluten-Free Flour Mix (1 1/2 cup flour mix):
3/4 cup brown rice flour
1/4 cup sorghum flour (or extra brown rice flour, white rice flour, or GF oat flour)
1/4 cup cornstarch OR arrowroot starch/flour
2 Tbsp potato starch
2 Tbsp tapioca starch/flour
1/2 tsp xanthan gum

Orange, Cranberry & Vanilla Cookies Recipe by Successfully Gluten Free!

Sunday, 24 October 2021

Gluten Free Sugar Cookies

This recipe is a bit different from my favorite frosted sugar cookie recipe, topped with my marshmallow fluff frosting.  It was a bit of a roundabout method to get to these - since I had originally posted a yummy sugar cookie bars recipe, then flipped that bar recipe around to make these yummy (and EASY) soft sugar cookies!  We plan to whip some up again soon! 
Decorating cookies is so fun for kids.
The back of the spoon works perfect for little kids to spread the frosting.

Gluten Free Sugar Cookies

Makes about 3 dozen

In a large bowl, whisk together: (it's important to mix dry ingredients separately in GF baking to avoid lumps)
2 cups Kristin's Gluten Free Flour Mix
3/4 cup white rice flour
1/2 tsp xanthan gum
1/2 tsp baking soda
1/2 tsp salt

In a mixer, cream together:
1 cup butter, softened
8 oz cream cheese, softened
1 1/2 cup white sugar

Add and mix in, scraping down a few times:
1 egg
2 tsp vanilla bean paste (or vanilla extract)

Add the dry ingredients in, and mix just until combined.  

Scoop the cookies onto parchment-lined pans.  Use a flat glass, wrapped in plastic wrap.  Dip it briefly in water and flatten each cookie.  Dip between every 1-2 cookies to keep it from sticking to the dough.  
Flattened and ready to bake.
They worked as a team to flatten each pan of cookies.
A surprisingly drama-free kitchen - everyone loves making cookies!

Bake each tray of flattened cookies at 350 F for 7-9 minutes, until light browned on edges.   

Remove from oven and let rest a few minutes before moving the cookies to a wire rack to fully cool.   After fully cooled, frost as desired - but my favorite on these cookies is the marshmallow frosting with just a hint of lemon and vanilla, below. 
They'll just have a hint of browning at the edges.  If you want crispier cookies, you can bake these a bit longer, but I like them to be nice and soft with the frosting.  

Frosting:

Mix together frosting in a mixer, beating well until light and fluffy:
6 Tbsp butter, softened
2 cup powdered sugar
1/2 cup marshmallow fluff
2 drops lemon essential oil OR 2 tsp fresh lemon juice
1 tsp vanilla bean paste (or vanilla extract)
1/4 tsp salt
drops food coloring, if desired

Slowly add heavy cream OR milk 1 tsp at a time until you have a smooth consistency.  I find 1 - 2 Tbsp cream or milk works well.

Spread (or pipe if you're feeling fancy) overtop the cookies.  Add sprinkles, if desired. 

Color frosting and decorate as desired! 

Gluten Free Sugar Cookies Recipe by Successfully Gluten Free! 

Tuesday, 27 April 2021

Gluten-Free Vanilla Wafer Cookies!

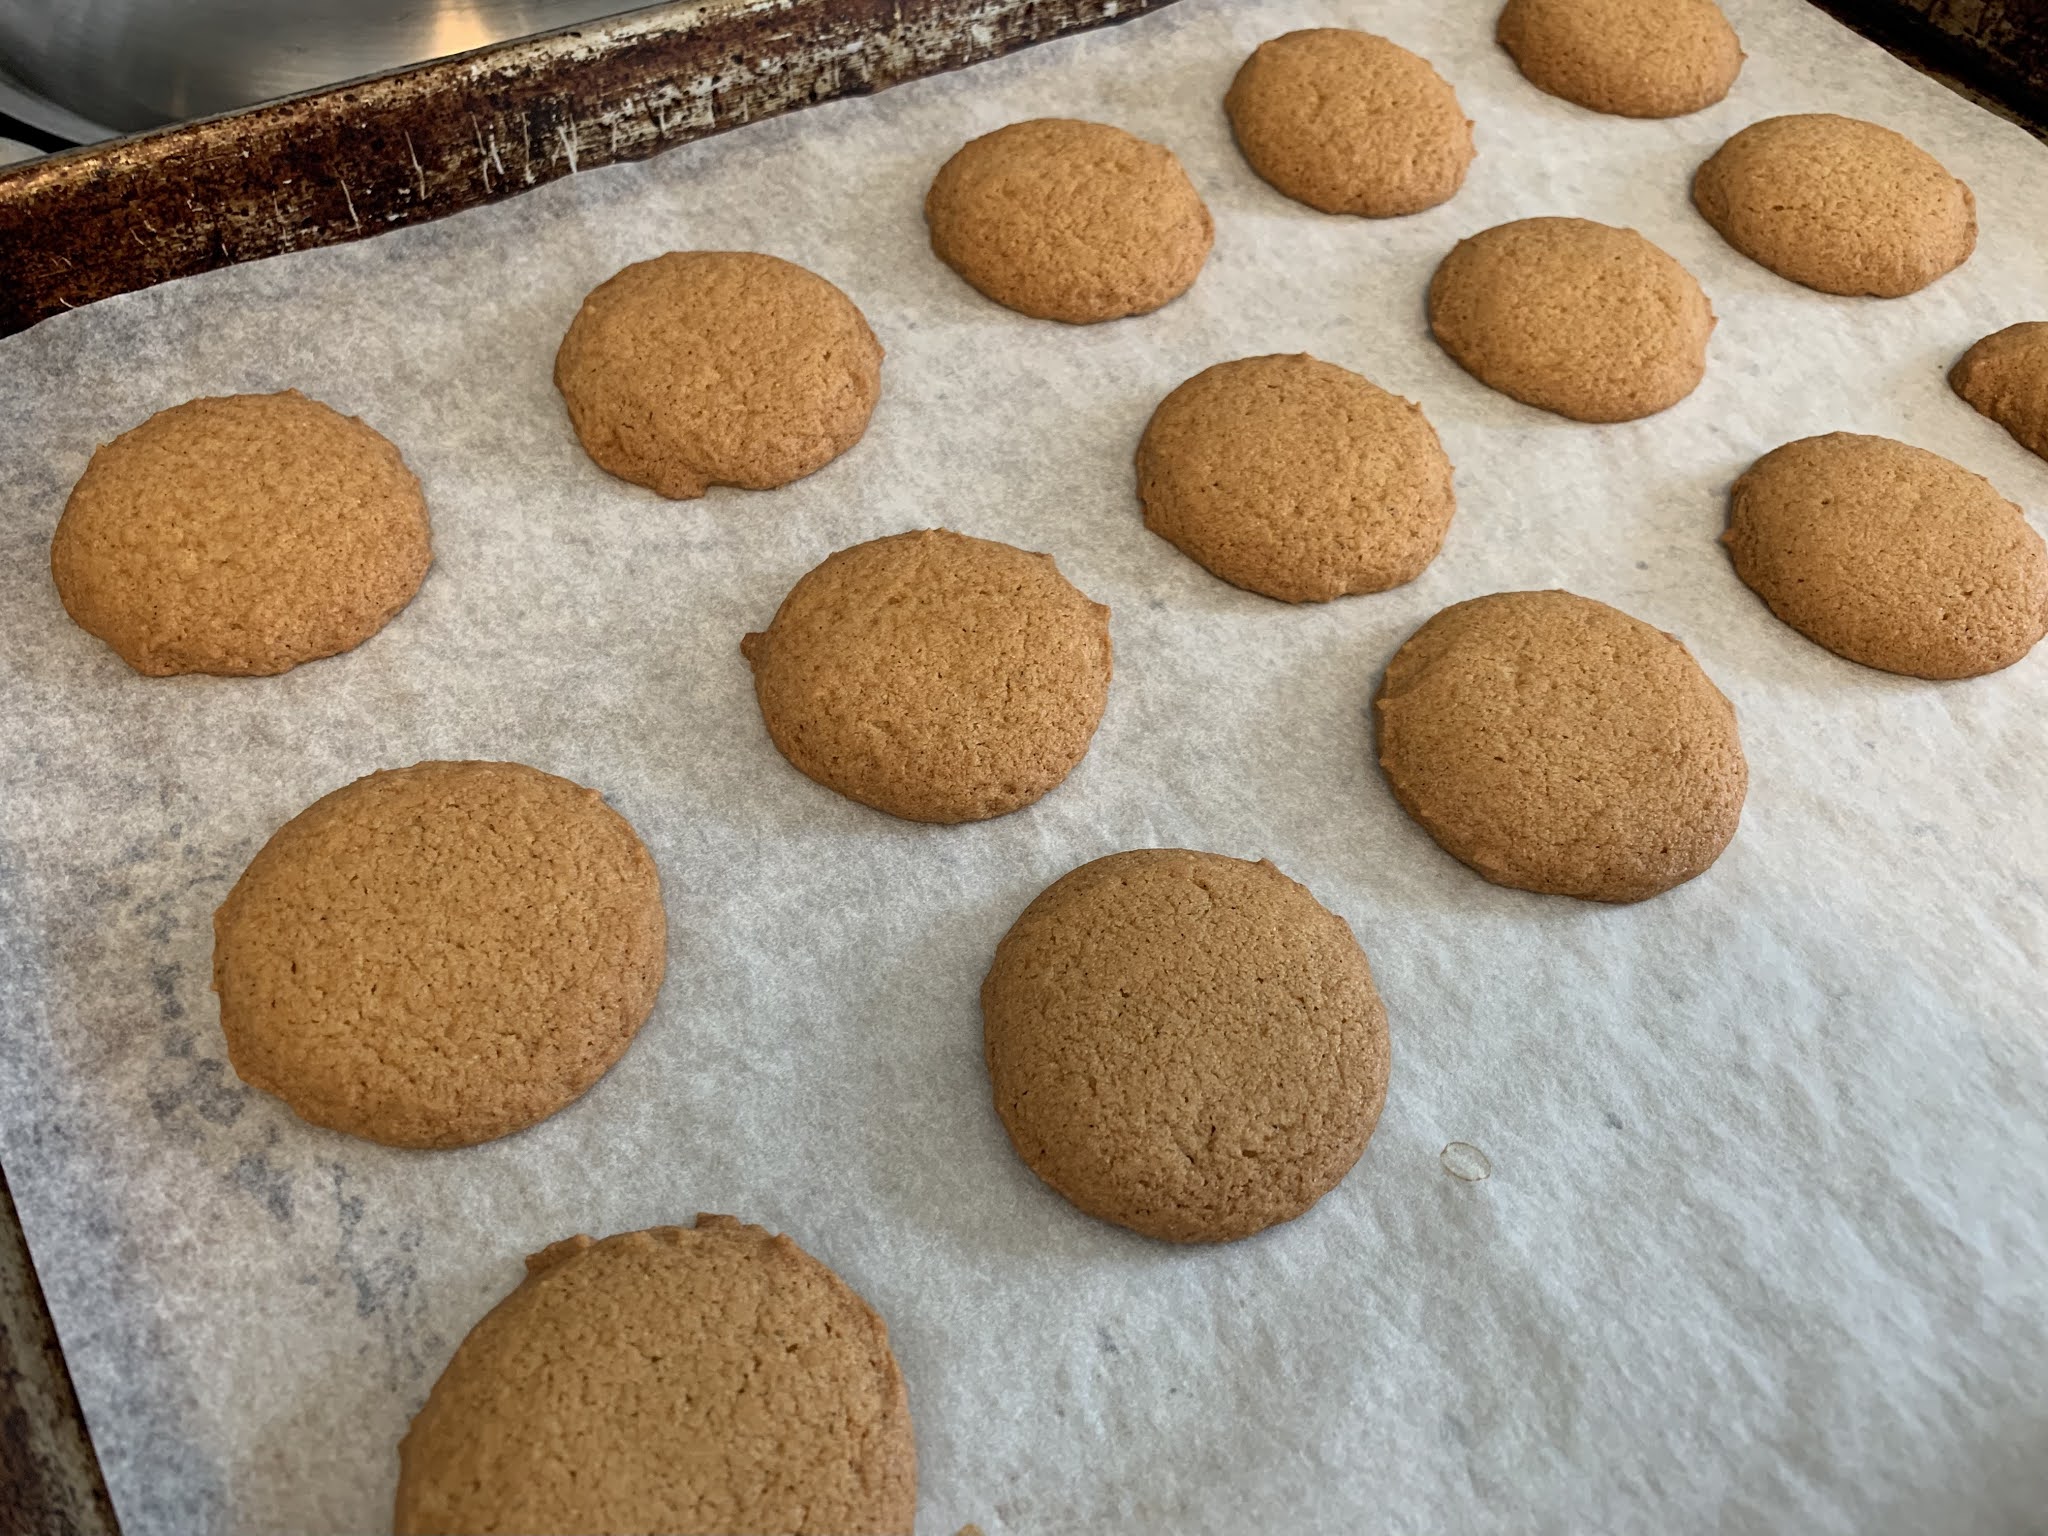
 I've actually been meaning to figure out a recipe that tastes right to me for gluten-free vanilla wafer cookies, and after a push by my friend Liz, I actually did the experimentation to figure it out!  (Thanks Liz!)  These are nice and vanilla-filled.   If you let these rest a day after baking and cooling, then they really taste so similar to the store-bought ones from my childhood.  And they're easy, too!  Enjoy! 
Gluten-Free Vanilla Wafer Cookies Cooling

Gluten-Free Vanilla Wafer Cookies!

Makes ~24 (1 Tbsp sized cookies)

Preheat oven to 325 F.  Line one or two baking sheets with parchment paper. 

In a bowl, mix together: (It's important to mix the dry ingredients separately in GF baking)
1/4 cup white rice flour
1/4 cup cornstarch or fine-ground corn flour (or arrowroot starch)
1/4 cup potato starch
1/4 cup tapioca starch
1/4 tsp xanthan gum
1/4 tsp baking powder
1/4 tsp baking soda
1/4 tsp salt

In a mixer, beat until fluffy: 
6 Tbsp butter
1/4 cup white sugar
1/4 cup brown sugar

Add and mix until nice and smooth: 
flour mixture, from above
1 egg white
1 Tbsp vanilla extract (OR 2 tsp vanilla extract + 1 tsp vanilla bean paste)
1 1/2 Tbsp milk (add an extra 1/2 - 1 Tbsp if you think your batter is too thick, but I find this amount works well)

Scoop small spoonfuls or use a small, 1 Tbsp sized cookie scoop to scoop batter onto parchment-lined pan.  I prefer to dip a couple fingers in water and gently flatten the top of each scoop.  This helps with even baking. 

Ready to bake!
Fresh from the oven!

Bake your cookies at 325 F for ~15-18 minutes, until nicely golden.  Too pale and they won't be nice and crispy.   Let them rest on the pan for 5-10 minutes before removing to a cooling rack.  Let them fully cool.  Store fully cooled cookies in a tupperware container on the counter.  These are good the day you make them, but we prefer to let them sit a day before eating for a real "vanilla wafer cookie" taste.  Enjoy!  

A couple more pictures:
I found if I was careful, I could fit the entire batch on one pan since they don't spread too much.  Here, you can see half flattened and half left un-flattened.
I prefer the more even baking of the flattened cookies, but the un-flattened work perfectly well, too. 

Gluten Free Vanilla Wafer Cookies by Successfully Gluten Free!

Monday, 29 March 2021

Chocolate Dipped Biscuits

 These nut-free cookies are thin shortbread-style biscuits that are dipped in chocolate once cooled.   I find them best on the day of baking, but they can be left in a tupperware at room temperature for several days and they do freeze well, too.  Cook them a bit longer if you want a crispier cookie.  Perfect for a small, fancy treat.  Enjoy! 
These turn out so pretty!
You can definitely cut them in different shapes, but the dough may need a bit more chilling time to avoid being too sticky. 

Chocolate Dipped Biscuits

Makes about 3 dozen cookies

In a mixer, cream together: 
1/3 cup butter
1/2 cup brown sugar

Add, mixing in, scraping occasionally: 
1/4 cup milk (lactose-free or milk substitute works)
1 egg
2 egg yolks
1 1/2 tsp vanilla bean paste OR vanilla extract
2 drops peppermint essential oil (I like the DoTerra oils)

Add and mix in until smooth: 
3/4 cup corn flour (white corn flour or yellow corn flour work - not corn meal, this is closer in consistency to cornstarch. You can use cornstarch if you cannot locate corn flour)
3/4 cup potato starch
1/4 cup coconut flour

Flatten the dough into an oval between two pieces of plastic wrap.  Fold so it's sealed and chill in the refrigerator for 30-60 minutes.  

Preheat oven to 375 F.  Line cookie sheet (or two) with parchment paper. 

Roll out between the plastic wrap to 1/4" thick.  Cut into small circles or shapes of your choosing.   Place on a parchment-paper lined cookie sheet.  They don't spread much, so you can have them relatively close together.  Bake at 375 for about 6-7 minutes for thin, small circles.  They should just be browning at the edges and be a nice light brown on the bottom.   If you want crispier cookies, you can cook them an extra minute or two.  Thicker cookies or larger cookies will need an extra couple minutes.  
Rolled and cut cookies, ready to bake.  
Baked and resting before moving to cooling rack.  For a crispier cookie, you can give them an extra minute or two.
I like them to be just light brown on the bottom and pale on the tops.

Let them rest on the pan for a few minutes before removing to a cooling rack to cool completely.  

You can temper your chocolate, if desired, for a wonderful snap that only tempered chocolate has.  However, they work perfectly well dipped in melted chocolate with a dash of oil added to help avoid streaks in the chocolate as it cools. 

To melt chocolate, melt the following at 50% power in 30 second increments, stirring between each 30 seconds until chocolate is nicely melted and smooth.  You may need to just do 15 seconds towards the end: 
1 cup high quality semi-sweet or dark chocolate
1/2 - 1 tsp lightly flavored oil (like olive oil or avocado oil)

Dip your biscuits as desired (bottoms only, halfway, etc.).  Place dipped biscuit on a parchment-paper lined cookie sheet.  Chill in the refrigerator until chocolate has set.  Remove and serve! Enjoy! 

The little ones LOVE to help dip the cookies.  We'd made some thicker ones here (thin is best)
After dripping some chocolate across the parchment she loudly declared "I didn't do anything!" to everyone in the house.  
Freshly dipped biscuits.
Chilled and hardened chocolate.  Ready to eat! 

Chocolate Dipped Biscuits Recipe by Successfully Gluten Free!