Search for a Recipe

Friday, 27 November 2020

Easy Homemade Granola Bars

I can't be the only one that finds gluten-free granola bars expensive.  This recipe is great, because you can make your own big tray of granola bars, slice and store for eating through the week.   If desired, you could also add some nuts to the mixture that goes in the oven, if you like.  It was inspired by an easy kids recipe for homemade granola bars in my daughter's Highlight's magazine.  Several alterations later, and we have the recipe below!  The kids have been loving them.  Some of our other favorite homemade granola bars are: key lime granola bars, delicious peanut butter granola bars, oatmeal berry jam bars, raspberry baked oatmeal, and several cookie-style varieties like granola bar bites, Aussie bites, and pumpkin granola cookies.  And, if you want something more treat-like, you could make some yummy Monster cookies - a definite favorite!   Enjoy~!
Gluten Free Homemade Granola Bar
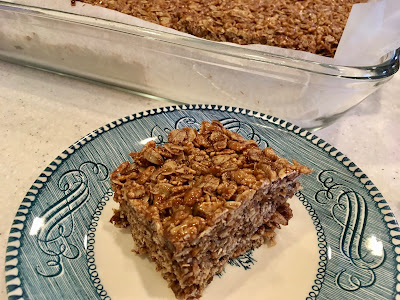
Freshly cut gluten-free granola bar.  Yum!

Easy Homemade Granola Bars

Makes 9 x 13 pan, which you can slice any size

Preheat oven to 325 F.  Line a cookie sheet with parchment paper.   Line a 9 x 13 pan with parchment paper, set aside for later.

In a large bowl, mix together:
1/4 cup brown sugar
1/4 cup oil
1 tsp ground cinnamon
pinch salt

Add, and mix in, until thoroughly covered with oil/sugar:
3 cups whole oats (GF if celiac or sensitive)
1 cup unsweetened shredded coconut
1/2 cup pumpkin seeds (optional)
1/2 cup sunflower seeds (optional)

Spread the oat mixture onto the parchment-lined pan.  Bake at 325 F for 15-20 minutes.  While this is baking, you can prepare the syrup mixture.
Oats, coconut and seeds (if desired), ready to toast.

In a medium-sized saucepan, mix over medium-low heat, 2-3 minutes, until the mixture is looking nice and smooth:
3/4 cup brown sugar
1/2 cup honey
1/2 cup agave

Add and mix in thoroughly:
6 Tbsp oil 
1 tsp salt
1 tsp vanilla extract

Set to low heat, and mix in, stirring til smooth (chips have melted):
1/2 cup high-quality semi-sweet or dark chocolate chips
Stirring in the chocolate chips - almost time to mix it all together.

In a large bowl (can be the same as before), toss together:
4-5 cups puffed, crispy rice cereal (I like to use the kind made with brown rice)
Oat/coconut/seed mixture from oven (It's fine if it's piping hot, fresh from the oven)

Give your chocolate syrup a final good mix, and then pour on top of the oats and crispy puffed rice mix.  Stir until evenly coated.  Scoop granola mixture into the 9 x 13 pan lined with parchment paper.  Press down with the back of your spoon or spatula.
Just after being pressed into the pan. (We could resist taste-testing before cooling)

Allow granola bars to fully cool.  You can put them in the refrigerator for an hour or so to help them cool faster.  Slice into desired sizes.  You can wrap them in plastic wrap, wax paper, or parchment paper and store for snacks and school lunches.  Enjoy!
Sliced granola bars
Individually wrapped bars

Easy Homemade Granola Bars by Successfully Gluten Free!

Monday, 2 November 2020

Soft, Versatile Lunch or Dinner Rolls

 These are soft, tasty rolls that everyone around here enjoys.  I always try to have leftovers in our freezer since they're great for sandwiches, with soup or salad, with sloppy joes (thank you Pioneer Woman - your recipe is probably the only one I've ever liked), and any and all other dishes where a roll or breadstick might be nice to eat.  Enjoy!
Rolls with onion powder and dried minced onion in them.
Rolls with garlic powder and dried garlic flakes.
Piped into breadstick shapes. Fun!

Soft, Versatile Lunch or Dinner Rolls

Makes ~20 large rolls or 30 smaller rolls

In a large measuring cup, combine the following and let rest 5-10 minutes, until it has frothed up nicely: 
2 cups warm/hot water
6 Tbsp honey OR 6 Tbsp sugar (both work - you'll just end up with a slightly different flavor/texture depending on which you use - both are great, although I love the honey best)
4 tsp active dry yeast OR rapid-rise yeast

In a large mixer, combine the following: (It's important to mix the dry ingredients first to avoid clumping in GF baking)
2 cups brown rice flour
1 1/2 cups arrowroot starch
1 1/2 cups tapioca starch
1/2 cup quick-cook steel cut oats (*If you don't want to use these, leave out and use 1/2 cup less water*)
1 Tbsp xanthan gum
1 tsp salt
4 tsp baking powder
Optional add-ins if you'd like some onion/garlic flavor in your rolls:
1 tsp garlic or onion powder
1 - 2 Tbsp dried minced garlic or onion

Add into the flour mixture and beat 3-4 minutes: 
yeast mixture, from above
6 Tbsp butter, softened
4 eggs
2 tsp apple cider vinegar

Scoop batter or put it into a large ziploc and pipe out roll shapes onto 1, 2 or 3 parchment-lined baking pans (I only use 3 pans if I'm making something like some bread sticks that I'd like more spread out and not bumping into each other).   Smooth batter with water.  Cover with upside down baking sheets and let rise 30 - 40 minutes in a warm location until doubled in size.   
Piped out rolls before and after rising (covered with upside down pans)
Different sorts of rolls piped out - I like to use a medium cookie scoop for the round rolls. 
Piped out breadsticks.  Yum! 
Brush the rolls with: 
2 - 3 Tbsp butter, melted

Bake rolls at 375 F or 350 F convection for 20 - 30 minutes, depending on the size of your rolls.  If you make large rolls all on 1 pan, they will all be pressed together and bake for 30 minutes.  If you make smaller rolls divided between two pans or three pans, they'll cook closer to 20 minutes.  They should be a nice, dark golden brown color.  
Fresh from the oven. 

Remove rolls to cooling racks.  Let cool fully before slicing.  You can certainly serve them while warm.  They're a favorite!  Enjoy! 
These ones were just so pretty. 

Soft, Versatile Lunch or Dinner Rolls by Successfully Gluten Free!

Thursday, 22 October 2020

Beautiful Swirl Topped Chocolate Oatmeal Brittle

 I've been making the most delicious chocolate oatmeal brittle for many years.  However, I've generally topped it with crushed candy canes or toffee pieces.  For a beautiful and delicious alternative, I came up with this tasty recipe.  I have been using Callebaut caramel chips for the most delicious and favorite version, however white chocolate chips will give the same beautiful look and also be tasty.  Enjoy! 

After chilling, and ready to slice and eat.  So delicious! 
Sliced and ready to eat! Yum! 

Beautiful Swirl Topped Chocolate Oatmeal Brittle

Makes 1 cookie sheet or ~ 24 pieces (depends on how you cut/break up the brittle)

Mix together in a mixer (or by hand in a bowl):
1 cup whole oats (make sure they're gluten-free if you're sensitive)
3/4 cup Kristin's Gluten-Free Flour Mix
1/4 tsp baking powder

Add to oats/flour and mix until mixture is crumbly:
1/2 cup butter, softened
Mixed together, just until crumbly.  You do NOT want this to look too creamed or well mixed.
Add and mix in until mixture holds together:
1/2 cup powdered sugar
1/3 cup brown sugar
1 tsp vanilla
Mixed just until it holds together.
Press onto a 7" x 10" rectangle on a parchment paper lined pan, since dough will spread during cooking.
Pressed into a rectangle - don't worry about edges being even. 
Bake at 350 F for ~ 17-20 minutes, until brittle is a golden brown (edges will be slightly darker).
Immediately after removing from oven - make sure to immediately put on the chocolate chips so they can start melting!
Remove from oven and immediately top with:
1 - 1 1/2 cup semi-sweet and/or dark chocolate chips
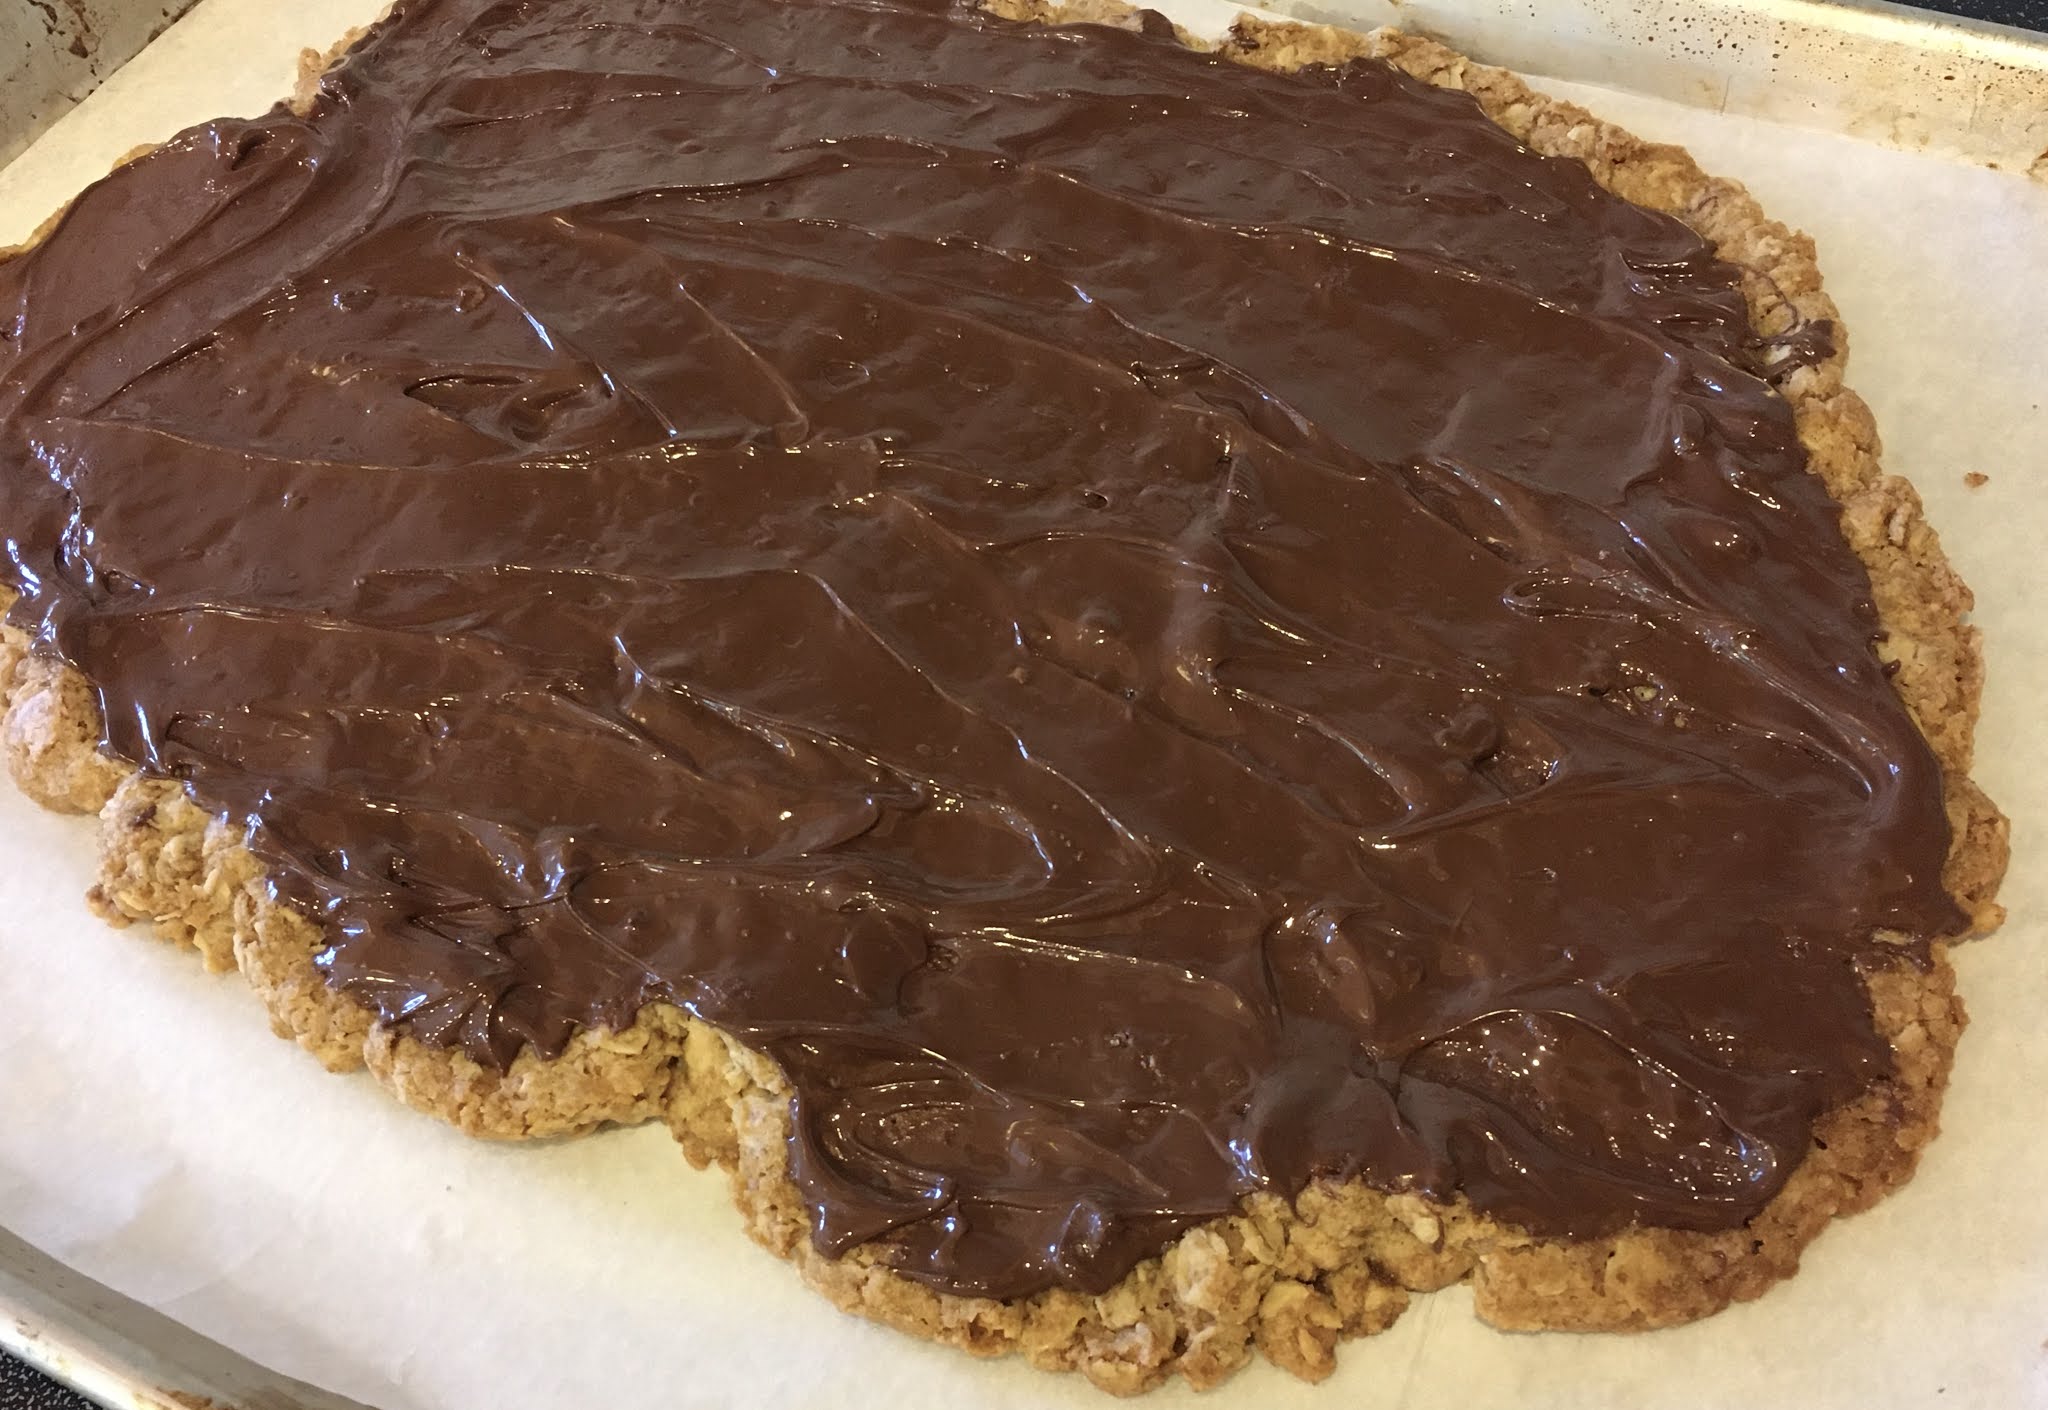
They will start melting right away - you can spread a bit, then let melt a bit more, spread a bit, etc. until they are nice and smoothed. 

Let the chips sit a few minutes to melt.  Then, spread around chips, sometimes letting sit another minute until the chocolate is fully melted.   

While the chocolate chips are melting, microwave for about 45 seconds at 30% power: 
1/4 - 1/3 cup high quality caramel chips OR high quality white chocolate chips (I LOVE the Callebaut caramel chips and Callebaut white chocolate chips - if you can find them, they are amazing.  They melt so much better than other brands, although I've had good luck with Guittard and Ghirardelli chips, too)
Chocolate spread around until chips are nicely melted and smooth. 
Drizzle your melted caramel chips or white chocolate chips over the dark chocolate covered brittle.  You can put the melted chocolate into a ziploc bag or just drizzle with a spoon.  Use a knife to swirl back and forth over your brittle.  I've included a few pictures below: 
This was messily drizzled with a spoon over the warm, melted chocolate.
Using a butter knife, drag the knife through the chocolate back and forth to make beautiful feathered swirls.
Once it's all completed, you'll want it to cool a bit before fully cooling in the refrigerator.

Let the brittle chill until you can remove the parchment paper to a cooling rack.  Place this in your refrigerator until the chocolate has fully hardened.   Chop with a large knife or break the brittle into pieces and serve! Enjoy! 

Beautiful Swirl Topped Chocolate Oatmeal Brittle Recipe by Successfully Gluten Free! 

Sunday, 11 October 2020

Apple Cinnamon Swirl Bread

 So many beautiful fall apples are available this time of year fresh from the trees.  There are many varieties, and you can use a combination of ones that sauté up nicely and retain their shape in this recipe.  You'll want to have about 2 cups of cooked apples - but you can use less or more to your preference.  Because they're cooked before baking, they won't make the bread soggy.  Fresh from the oven, it's a tasty bread to pull apart.  Once it's cooled, you can slice it.  Leftovers freeze and reheat perfectly!  Enjoy!  
Such a delicious gluten-free fall treat.  Fresh, homemade apple cinnamon swirl bread.
All slices look a little different - a mixture of swirls of cinnamon and apples.  It's been so popular we've made it many times now.

Apple Cinnamon Swirl Bread

Preheat oven to 350 F.  Line 3 bread pans with parchment paper. 

Sauté over medium heat until apples have softened, but are not mushy: 
2-3 Tbsp butter
6 - 8 apples, peeled, cored and diced
1 Tbsp cinnamon

Add and cook 1 minute, then remove from heat: 
2 Tbsp maple syrup

Set apples aside to cool while you prepare the dough and filling. 

In a large mixer, combine: (It's important to mix dry ingredients first in gluten-free baking to avoid clumps)
2 cups brown rice flour
1 cup sorghum flour (use extra brown or white rice flour if you do not have sorghum)
3/4 cup arrowroot flour (or cornstarch)
1/4 cup potato starch
1/4 cup tapioca starch
1/2 cup sugar
1 Tbsp xanthan gum
1 1/2 tsp salt
4 tsp rapid-rise/quick yeast
2 tsp baking powder

Add and mix in slowly, then increase speed to medium or medium-high and let beat 4 minutes: 
1/2 cup butter, softened
1 cup milk, warmed (not hot)
1/2 cup water, warmed (not hot)
3 eggs

While batter is beating, stir together: 
1/4 - 1/3 cup melted butter
1/2 cup brown sugar
1 - 2 Tbsp cinnamon

Lay out two large pieces of plastic wrap, overlapping slightly.   Place the dough along the center of the plastic wrap.  Cover with another two pieces of overlapping plastic wrap.  Roll out dough until you have a large, long rectangle approximately 15" x 30".   Remove the top layer of plastic wrap. 

Have a small bowl of warm water available to dip your hands/fingertips in case of any sticky dough. 

Spread the brown sugar/melted butter mixture on the dough using the back side of a spoon.  Evenly spread the cooked apple mixture on top of the brown sugar/butter.  If desired, save a few of the apple pieces to tuck into areas of the bread that don't have as many pieces once it's been rolled up, sliced, and placed into the bread pans.  
Dough rolled out using plastic wrap to avoid sticking, then topped with brown sugar/cinnamon mixture and sautéed apples.  Ready to roll up! 

Use the plastic wrap to carefully roll up the dough into one long roll.   You can use wet hands to help with any sticky spots.

Divide the dough into 3 pieces.  Cut each of those pieces into 5-6 slices that you place upright in prepared parchment-lined bread pans.  Use wet hands/fingers to pick up and move the pieces.  Use wet hands to press the bread flat and even.  
Slices of dough pressed down with wet hands to make an even sized bread. 

Arrange an upside down cookie sheet over the bread, allowing room to rise.  I like to prop it up on the edges of the pans.  Let the bread rise for 45 - 60 minutes in a warm location until nearly doubled in size.  
Risen and ready to bake! 

Bake bread at 350 F for 50 minutes, until a nice golden brown.  Let rest 5 minutes, then remove bread from pans onto wire racks.  
Fresh from the oven - let them rest 5 minutes before removing from pans to a cooling rack.
Mmm.. Fresh apple cinnamon swirl bread, ready to drizzle and eat! 

Stir together to drizzle or pipe on (just put it in a ziploc bag and snip the corner) as a frosting: 
1 - 2 Tbsp butter, very soft
2 - 3 oz cream cheese, very soft
1 1/2 cup powdered sugar
1 tsp vanilla extract or vanilla bean paste
milk to consistency (~2-3 Tbsp usually works well)

After drizzling on the frosting, let the bread cool before slicing.  You can easily tear apart and enjoy this delicious bread while it's still warm.  I usually only end up slicing two of the three loaves for later.  This stores well in the refrigerator for a few days.  It also freezes well if you slice in advance.  Enjoy! 

Delicious gluten-free apple cinnamon swirl bread. Yum! 


Apple Cinnamon Swirl Bread Recipe by Successfully Gluten Free!

Saturday, 3 October 2020

Paris-Brest Pastry filled with Creme Patissiere & Homemade Caramel Sauce

Amazing eclair dough piped in a large ring, filled with homemade creme patissier and caramel sauce.  It was absolutely amazingly delicious.  A stunning dessert.  My youngest brother has a tendency to "suggest" dessert ideas to me - knowing I almost always will create them.  This was his birthday request and it did not disappoint. Enjoy! 
A decadent dessert - but light and airy all at the same time. 
A slice of Paris-Brest pastry - delicious creme patissiere and caramel filling. Yum! 

Paris-Brest Pastry with Creme Patissiere & Homemade Caramel Sauce

Creme Patissiere (Pastry Cream): 

In a medium saucepan (avoid non-stick coated pans), heat over medium heat until just boiling: 
2 1/2 cup half & half OR whole milk
1/3 - 1/2 cup sugar
2 tsp vanilla bean paste OR vanilla extract
1/4 - 1/2 tsp salt

In a small bowl, mix together: 
1/4 cup cornstarch
4 egg yolks
1/4 cup half & half OR whole milk

Whisk the yolks/cornstarch mixture into the hot sugar/cream mixture.  Increase the heat to medium-high to speed up the process, but whisk constantly and rapidly.  Once the mixture thickens and starts to boil (I find it makes big, thick popping bubbles when done, and I quickly have to remove from heat to avoid getting burned), remove from heat and pour the pudding into a glass dish.  Cover the pudding with plastic wrap pressed directly on the surface of the pudding.  Let cool at room temperature until it's cool enough to place in the refrigerator to completely chill.  (I like to make this in the morning if I need it chilled by evening, or you can make it the day before). 

Homemade Caramel Sauce:

This makes twice as much as you'll need for this dish, so make half the recipe if you don't want extra caramel sauce. 

Butter an 8" x  8" glass dish and set aside on a cooling rack. 

In a medium-large saucepan (avoid non-stick coated pans) place the following, mixing just a tiny bit and very gently: 
4 Tbsp butter
1 1/2 c heavy/whole cream
2 cups white sugar
1/3 cup corn syrup
generous pinch or two of salt

Use a candy thermometer to keep track of the temperature.  Heat until 225 F.  
Immediately remove from heat and add: 
1 1/2 tsp vanilla bean paste

Pour the caramel into your prepared pan.  Let cool on the cooling rack until you need to use it.  Prior to using, mix the caramel around with a spoon.  Any extra caramel can be stored in the refrigerator in a covered glass container once cool.  Gently reheat before serving.      

Choux Pastry (Pate a Choux):

Preheat oven to 360 F.  (I find somewhere between 350 - 375 works perfectly).  Line a baking sheet with parchment paper.  

In a medium sized saucepan (avoid non-stick coated pans), heat the following over medium heat just til starting to boil: 
1 1/4 cup water
1/2 cup salted butter
1 tsp sugar
1/4 - 1/2 tsp salt

Remove from heat and stir in quickly with a wooden spoon: 

Put the pot back on the heat and stir vigorously over the heat for 2 - 3 minutes.  It should smooth during this time.  

Remove from heat and place the dough into a mixer.  Turn on the mixer speed to low.  Let it mix for ~5-10 minutes, scraping occasionally.  Your dough should look nice and shiny and be quite thick.  

Add to the dough (one at a time or just all together): 
4 large eggs, room temperature

You want to let the dough mix on medium to medium-high speed until it's nice and smooth, scraping occasionally.  Scoop the dough into two freezer ziplocs (not absolutely necessary, but it's quite a thick dough and I find this helps avoid having a bag split while piping).  Snip ~1" - 1 1/2" from the corner of the bag.  

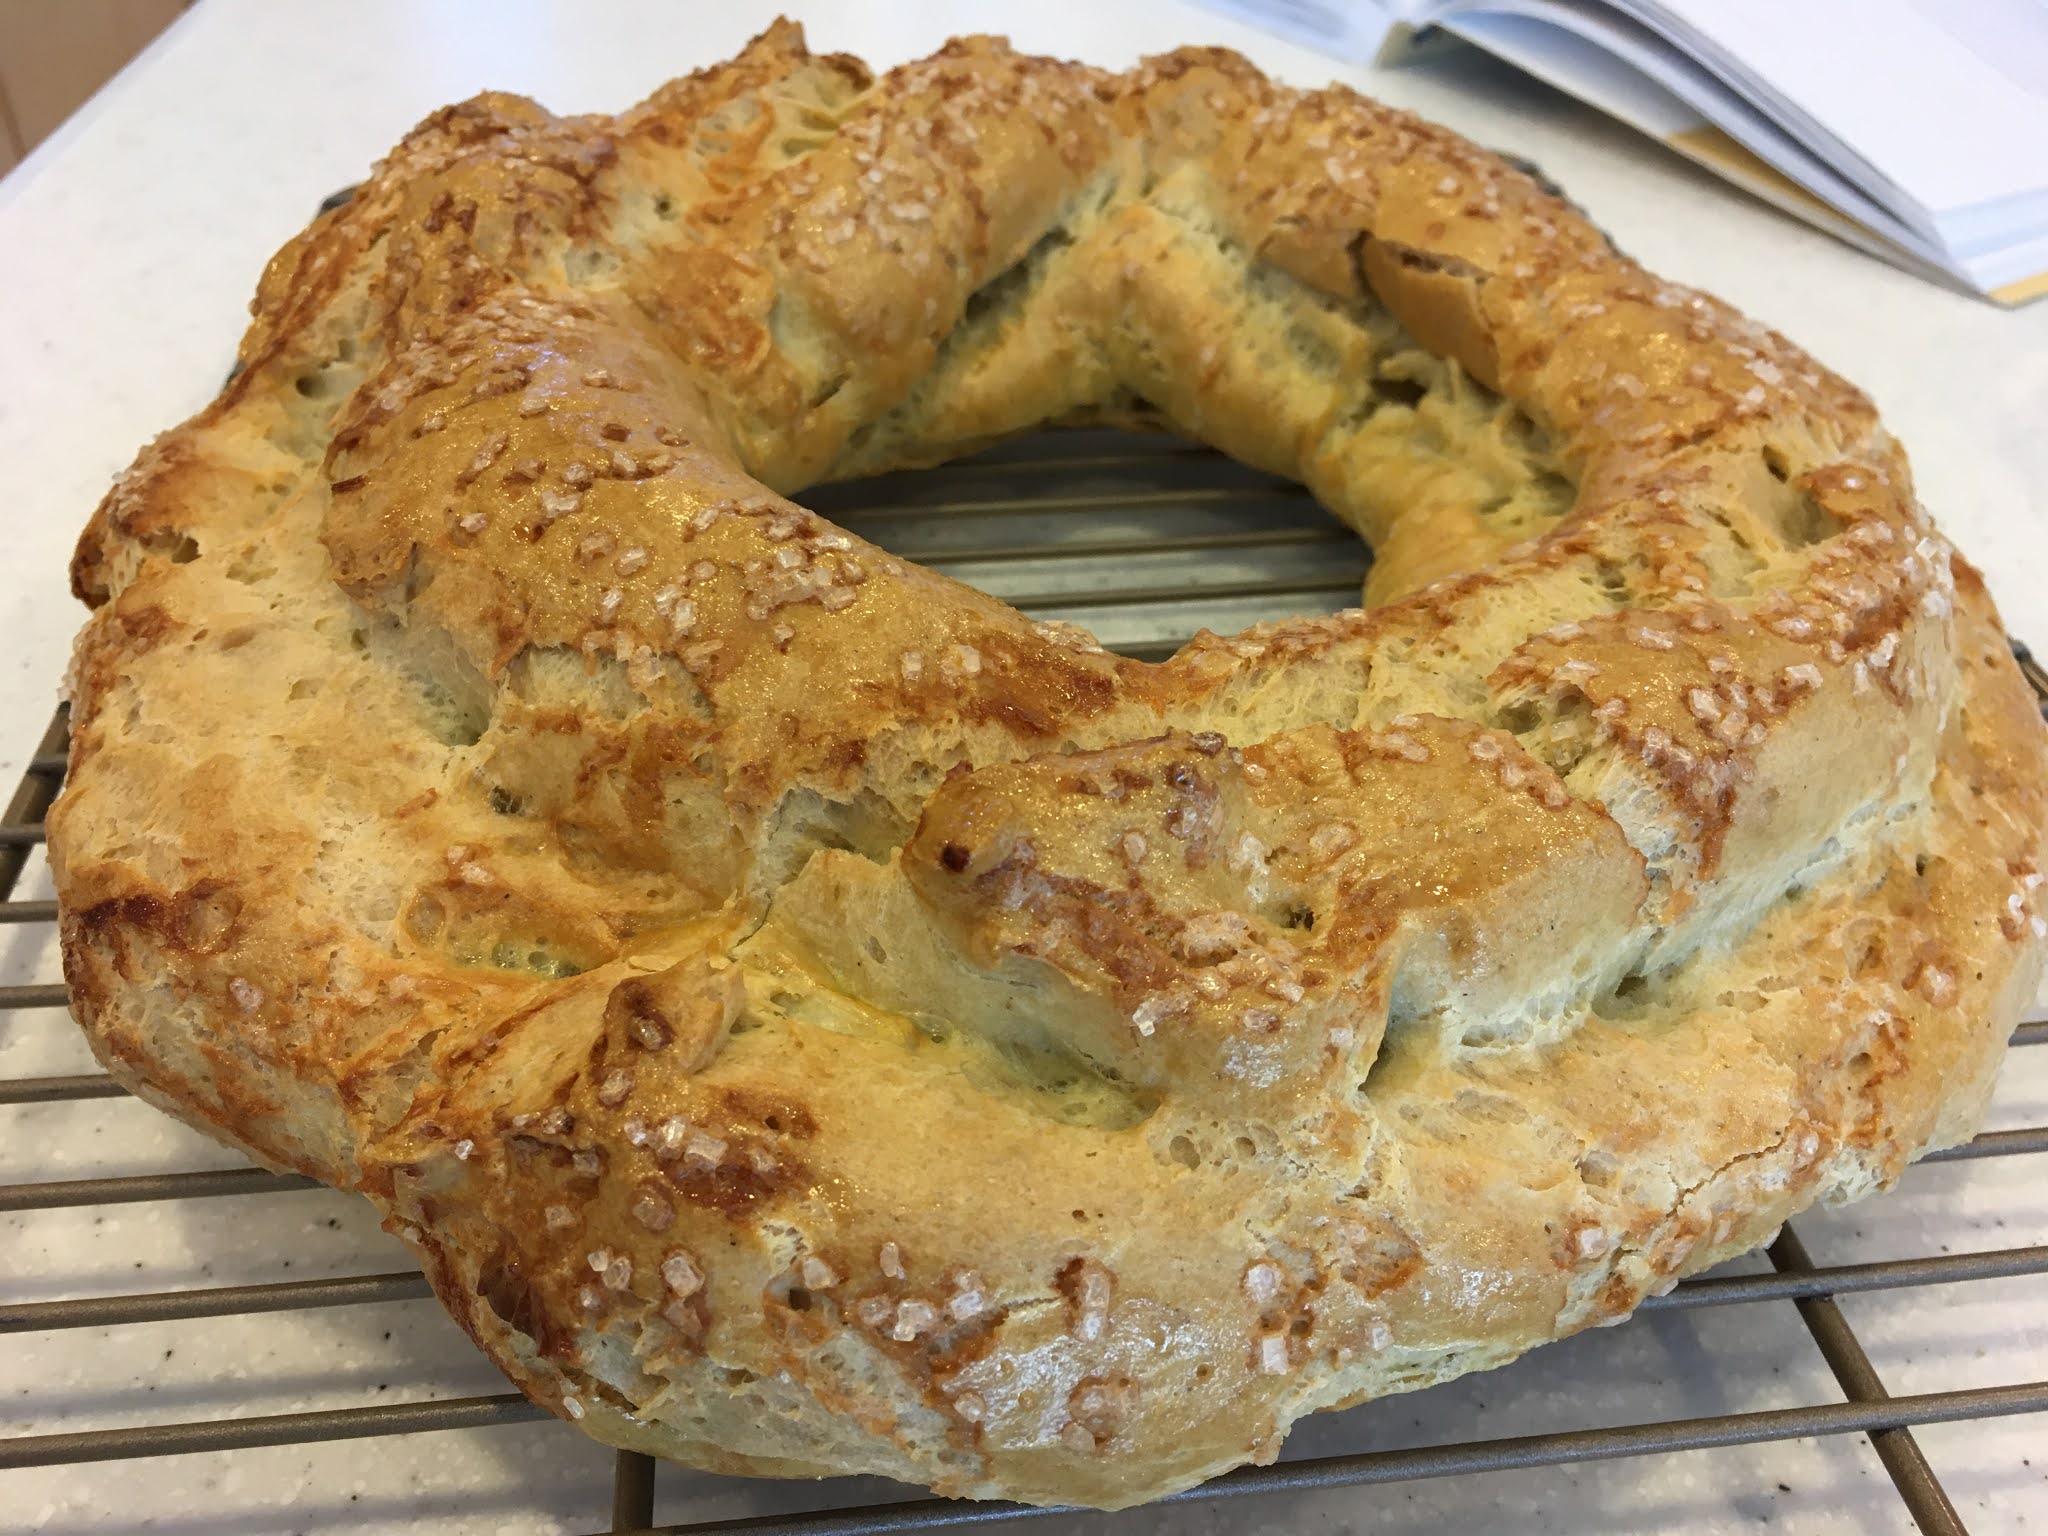
Using approximately 1/3 of the batter, pipe a large circle onto the parchment-lined paper.  Pipe a second circle just outside (or inside) of your first circle with the next 1/3 of the batter.  Using the last 1/3 of the batter, pipe a third circle on top of the first two circles.  
Two rings piped with approximately 2/3 of the batter. 
A final ring piped on top.  You can smooth it with just a little water on your fingers, if desired. 

Brush the top of your pastry with: 
1 egg, beaten

And sprinkle the top with: 
Sparkling sugar OR sliced almonds
We have nut allergies around here, so after brushing with egg I topped with coarse sugar crystals.  They end up looking beautiful.  However, you can top with slice almonds after adding the egg, if you prefer. 

Immediately bake at 360 F for 50 - 55 minutes.  Remove from the oven and carefully slide your pastry onto a cooling rack.  Have a friend help hold the cooling rack up in the air and quickly poke 7-8 holes in the bottom of your pastry.  Poke a few holes around the edges of the pastry where you plan to slice it in half once cooled.  *Choux Pastry does best if you give the hot air somewhere it can release so the pastry doesn't collapse on itself while cooling.* 
Fresh from the oven - make sure to immediately slice air holes in sides and bottom to allow steam to escape. 
I found it's easiest to get holes in the bottom by having someone hold the paris brest pastry up on a cooling rack and slicing little slivers from underneath. 


Assembling your Paris-Brest Pastry
Once your creme patissiere, caramel sauce, and choux pastry have fully cooled,you're ready to assemble your Paris-Brest Pastry! 

Carefully slice the Choux Pastry in half horizontally using a sharp bread knife.  Set the top to the side.  Place the bottom half of the choux pastry on the serving platter.   

Scoop your homemade Creme Patissiere (Pastry Cream) in a large freezer ziploc.  Cut the corner and pipe onto the bottom half of the pastry, ideally in a nice zigzag pattern.  
Filled with creme patissiere - pipe it as you prefer, but I liked the look this gives once the top is put on.

Generously drizzle the Caramel Sauce on top of the Creme Patissiere.  
A drizzle of homemade caramel sauce. Yum!

Place the top of the pastry back on, and dust generously with powdered sugar.   Drizzle the top with more homemade caramel sauce and serve!   


If you need to assemble in advance, keep refrigerated until serving - ideally assemble no more than a few hours before serving for the best results.  Although, leftovers a day after still tasted delicious and so you could potentially assemble it longer in advance, if necessary. 

Slice with a serated knife to serve.  SO delicious.  Enjoy!  
Happy Birthday Ben! Excellent choice of desserts! 
A slice of deliciousness. 
Served outside on a beautiful day. 
And another, just for fun. 
It was just stunning.  And delicious. Mmmmm... 

Paris-Brest Pastry filled with Creme Patissiere & Homemade Caramel Sauce by Successfully Gluten Free! 

Friday, 18 September 2020

Poule au Pot

A quicker way to get the same delicious French flavor in this dish.  Many thanks to my brother for the inspiration and guidance in this recipe - based on what he enjoyed eating during his two recent years spent in France.  The more traditional method is to boil a whole chicken on the bone in a broth first, before adding the vegetables, then serving with the bechamel sauce over rice.  This method is faster, and tastes very similar, since the same spices are used in the broth.  Yum. 
Poule au Pot
A delicious meal - vegetables, chicken over rice with the tasty bechamel sauce on top. 

Poule au Pot

In a large pot, place the following: 
3 carrots, peeled & coarsely chopped
1 parsnip, peeled & coarsely chopped
1 lb. red, thin-skinned potatoes, coarsely diced (if small, just slice each in half)
1 celery root & stalks, peel bulb, dice (I prefer to use only 1/2 the tops/stalks/leaves)
1 onion, coarsely diced with 3 whole cloves pressed into the onion
2 tsp freeze-dried diced garlic, diced OR 2 cloves garlic, each sliced in half
2 bay leaves
1 tsp dried ground thyme
1 Tbsp freeze dried parsley OR 2 tsp dried parsley
1 tsp dried rosemary
~10 whole peppercorns

Cover with water, about 1" above all the ingredients.  Heat over medium-high heat to a boil.  Lower heat and simmer for ~90 minutes.  

Add and simmer for the last 15 minutes of cooking: 
1-2 cups roast chicken, coarsely diced

While the vegetables are simmering, cook rice of your choice to serve.  I love a nice brown jasmine rice.  The long simmer time in this recipe makes it easy to make a brown rice which requires ~45 minutes to simmer and 15 minutes to rest before serving.  

Whip together an easy bechamel sauce after you add the chicken.  This will be served over the vegetables and chicken. 

Bechamel sauce:

In a medium saucepan over medium heat melt: 
3-4 Tbsp butter

Add: 
1 cup broth from vegetables above
3/4 cup milk
pinch salt
pinch fresh ground pepper

In a separate bowl, mix together: 
1-2 Tbsp cornstarch
1/4 cup cold milk

Once broth/milk is bubbling, add the cornstarch mixture, whisking/stirring constantly until mixture thickens slightly and bubbles for a minute.  Adjust salt and pepper, to taste.  Remove from heat. 

To serve your poule au pot: 
In a wide, low-sided bowl place a scoop of cooked rice.  Use a slotted spoon to serve a mixture of vegetables and chicken from your large pot.  Remove any bay leaves or cloves that end up in the bowl.  Top with a spoonful of Bechamel sauce.  Enjoy! 

Each bowl looks beautiful - and different. 

Friday, 11 September 2020

Coconut Macarons

These delicious coconut macarons are more similar to typical almond-flour made macaron than the heavier-styled coconut macaroons often found at supermarkets.  They won't end up with the "foot" of a proper almond macaron, but they will end up with a deliciously delicate crispy exterior and soft, melt-in-your-mouth interior.   I used to sometimes buy large versions of these sorts of coconut macarons when I lived in Boston years ago.   In fact, you CAN make larger ones, too.  They'll just need extra baking time and will end up a little more of the pale brown overall.  I never realized how easy they were to whip together, and I wish I'd made these sooner!  Such a light, fun treat when you have some extra egg whites in your kitchen.  Enjoy! 
Gluten Free Coconut Macarons
Two fresh coconut macarons sandwiched with homemade chocolate ganache
Coconut Macaron cookies
Delicious, light coconut macaron cookies, fresh from the oven.  

Coconut Macarons

This makes one tray of macarons, maybe onto two trays depending on spacing/size piped. Size of cookies completely depends on how you pipe them.  Yes, you can easily double this recipe!  

Preheat oven to 300 F.  Line one or two baking trays with parchment paper. 

In a very clean mixing bowl with whisk attachment, beat until stiff peaks, scraping occasionally to make sure all the sugar is well incorporated: 
2 egg whites
1/4 cup sugar

Sift together the following and then fold into the egg whites carefully with a spatula, gently folding over and around to avoid deflating the egg whites:
1/2 cup sifted powdered sugar
1/4 cup sifted coconut flour
(You want to fold the dry ingredients into the beaten egg whites to avoid deflating them.  If you deflate the egg whites, your macarons will fall flat.) 

Scoop your batter carefully into a large freezer ziploc or piping bag.  Snip off the corner (~1/4" - 1/2") and carefully pipe circles of batter onto a parchment-lined pan.   You can use a finger dipped in water to gently smooth the stops if you prefer them a little smoother.  
Freshly piped out coconut macarons, ready to rest before baking.

Let the cookies rest for 20-30 minutes before baking.  Bake at 300 F for between 8 - 12 minutes, depending on size.  If you make larger ones, you may want to let them bake closer to 20 - 25 minutes.  You will want to just barely see the lightest touch of browning around edges and/or tops for your little cookies.  Overcooking will result in crispy macarons rather than the crispy outside and chewy interior that you want.  
Fresh from the oven - just a touch of browning starts happening around the bottom edges.  

Let rest a few minutes on the baking pan before carefully removing to a cooling rack to cool.  Leftovers can be stored in a tupperware on the counter for a couple days, but they're best eaten within a day.  Enjoy! 

Coconut Macarons (Macaroons) Recipe by Successfully Gluten Free!